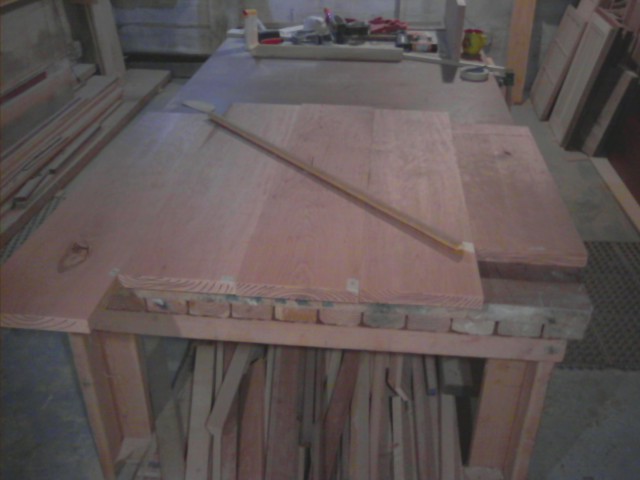
best alignment of the boards
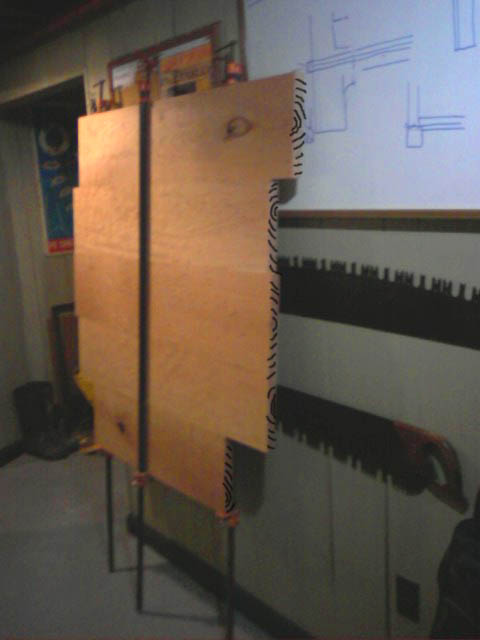
When dry, we made a ''''compass'''' to delineate the circle (a stick with a nail at one end and a pencil at the other). We used a jigsaw to cut out a rough circle, 1/4'' outside the pencil line
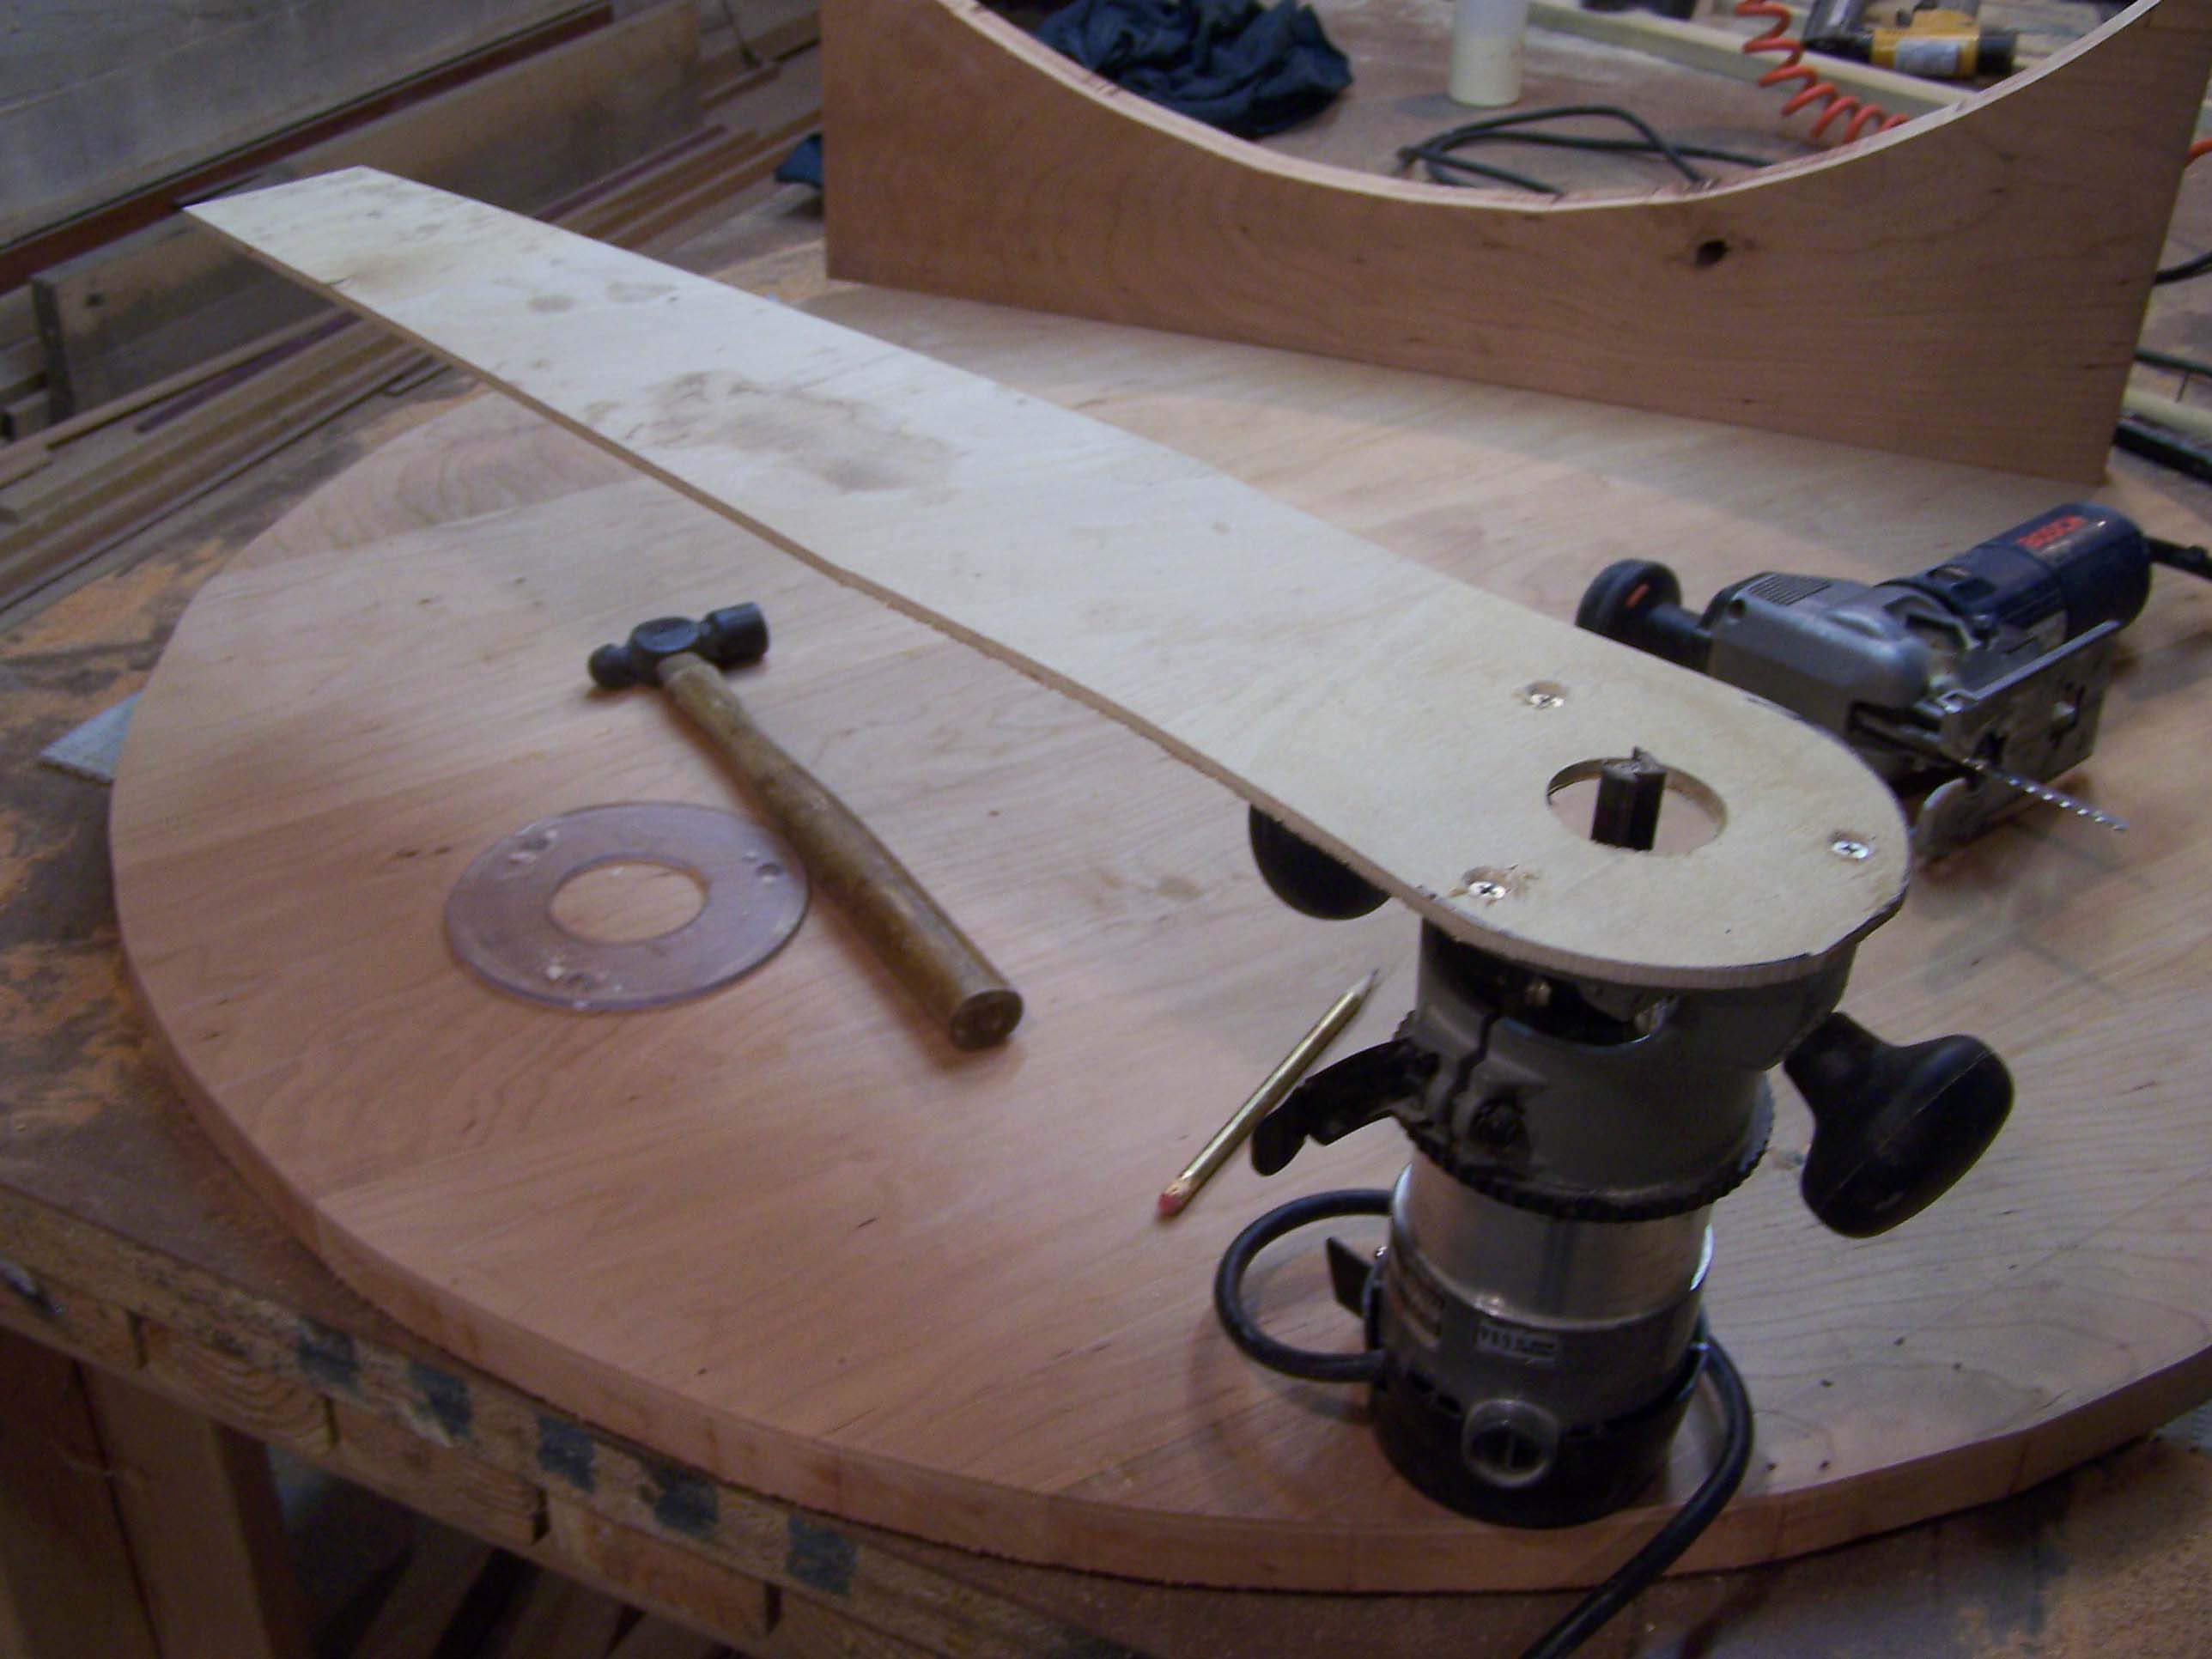
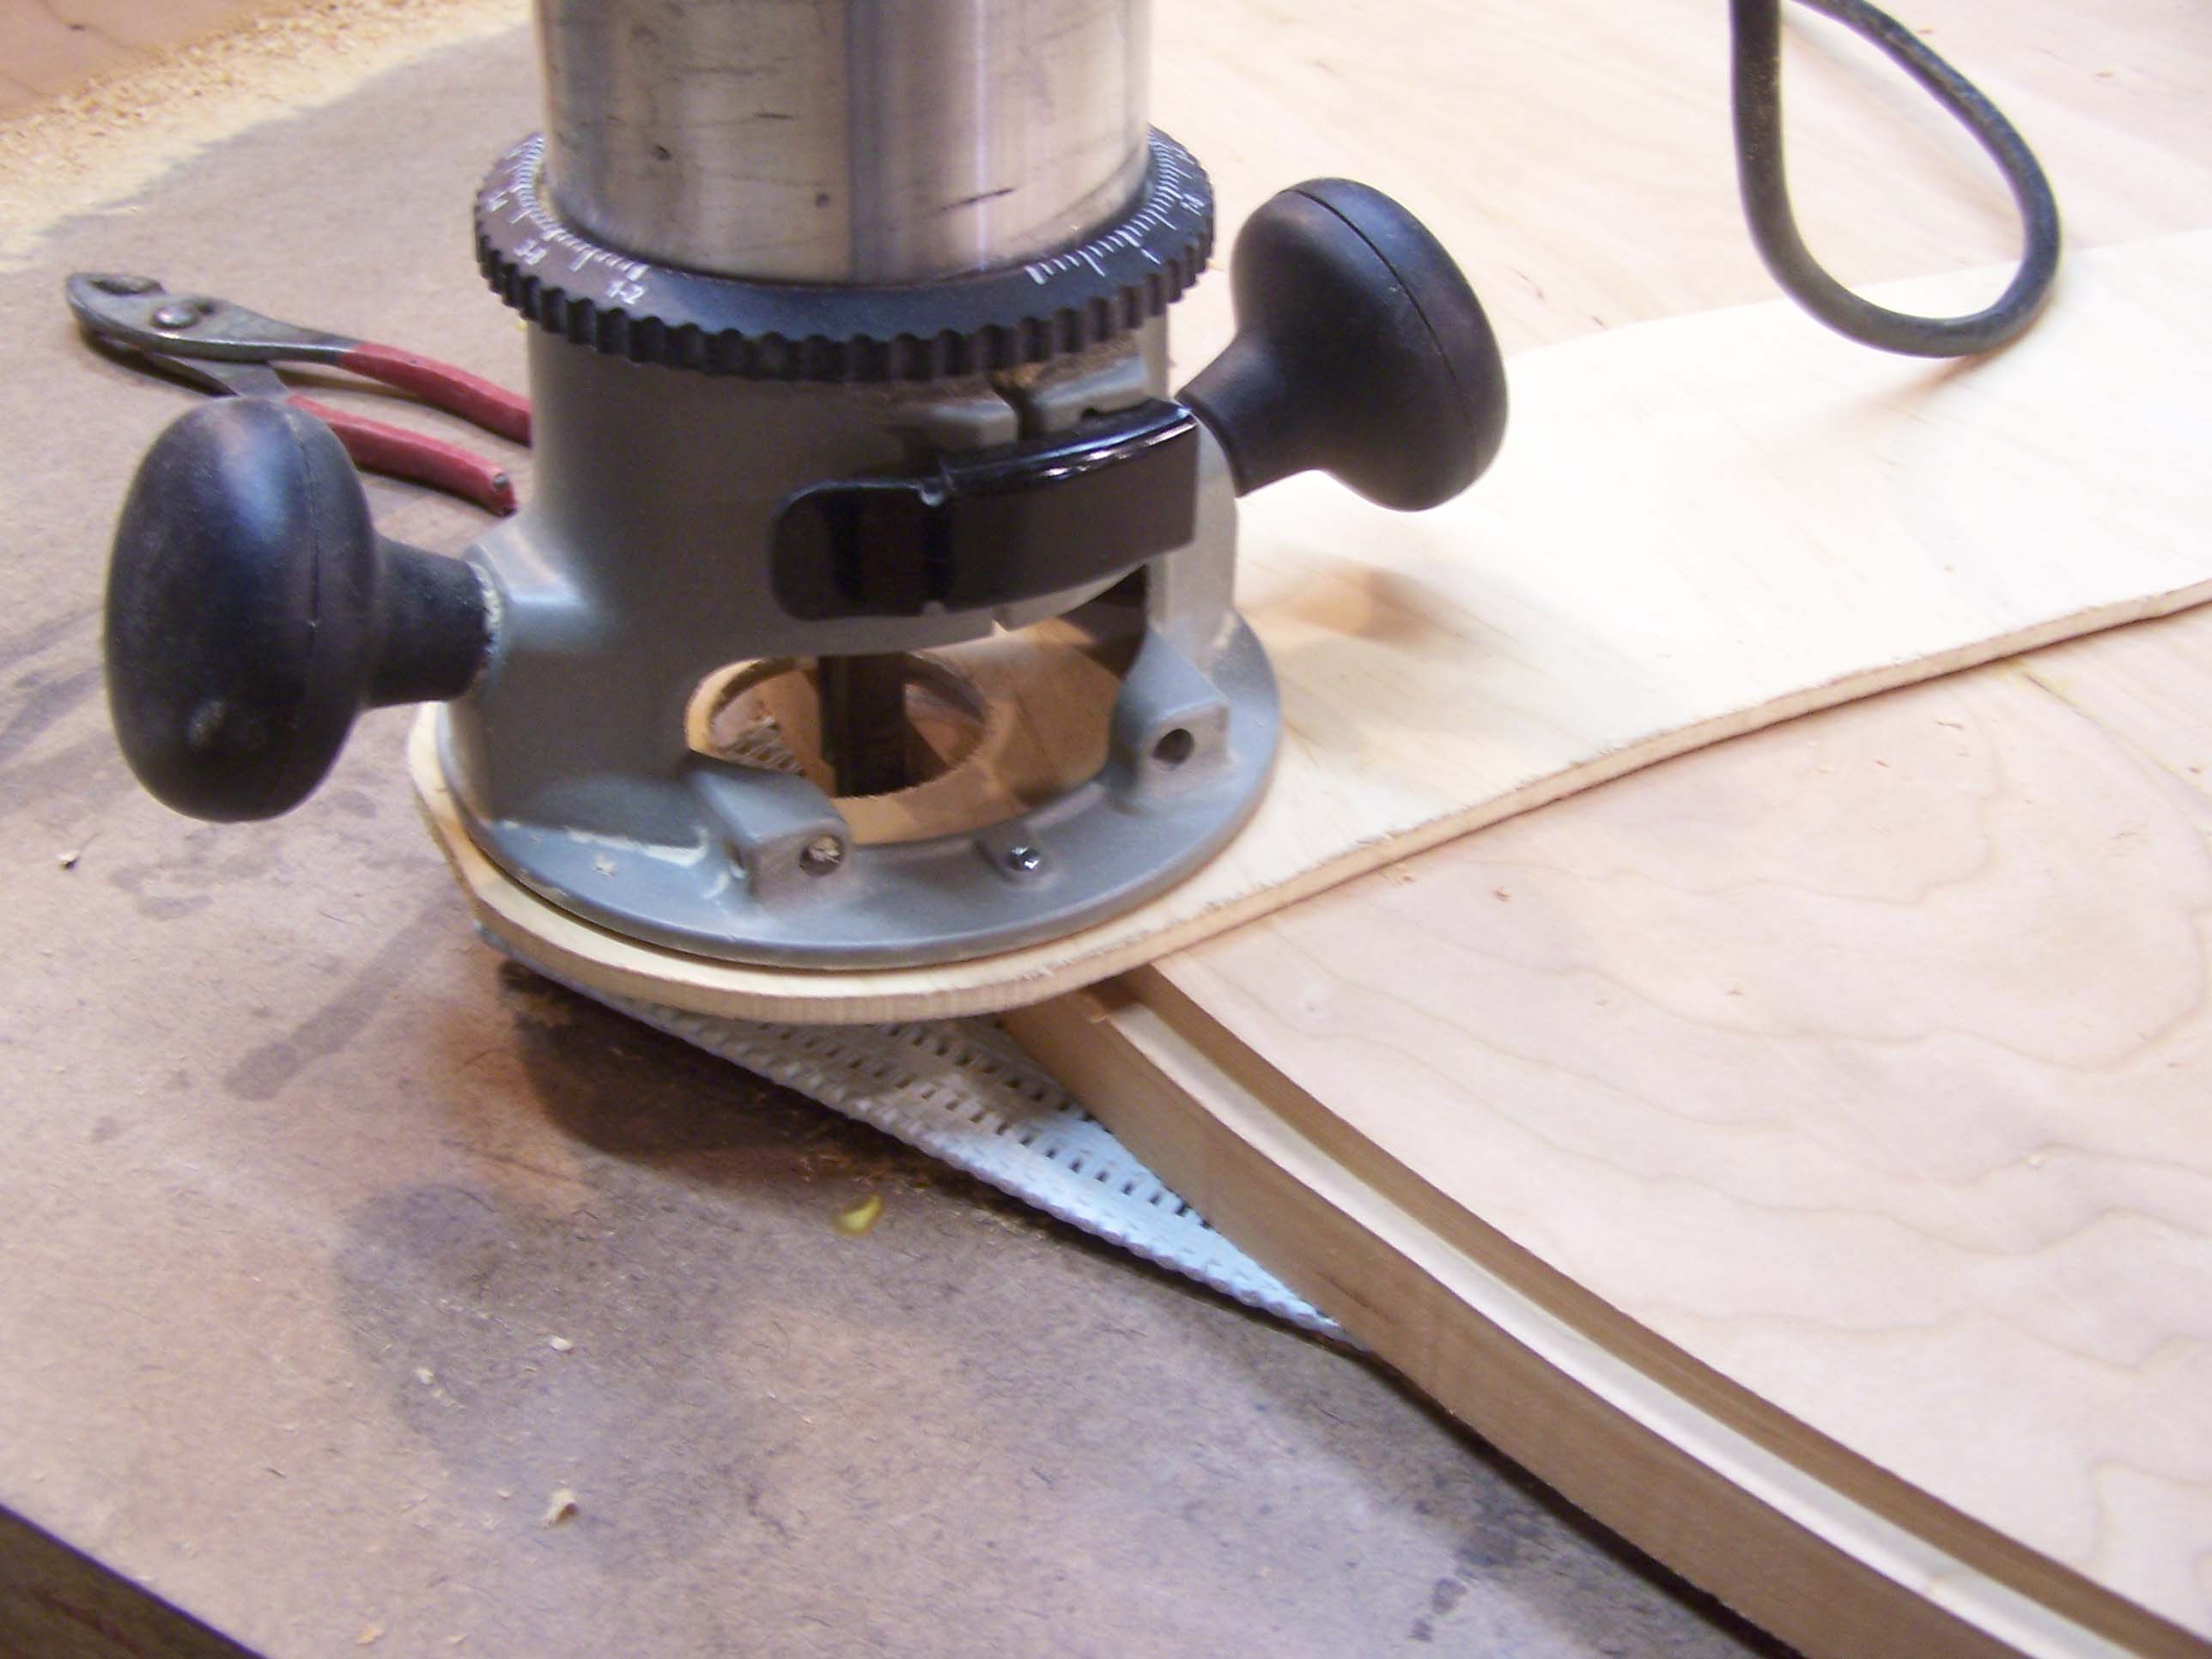
We then made a circle-cutting jig (much like the ''''compass''''). This makes plunge-cutting a concise circle fairly easy. I did a number of passes, each 1/4" deeper than the last, until all the way through. The speed at which I moved the router was important as too fast would give me tear out and too slow would leave the edge with burn marks. I cleaned the bit often and used a silicon based spray called ''DriCote'' to minimize burn.
To attach the table top to the pedestal and keep the top flat during it''s inevitable movement (expansion and contraction), we made a ''stretcher'' (if anyone has a better term for this, I''d love to hear it) with elongated holes. Here you see the illustration I did for the ''furniture making thread'' and the actual stretcher we built. Although I believed I had a good way to do it, I figured I might as well take advantage of the combined knowledge of all these woodworkers on ''site''.
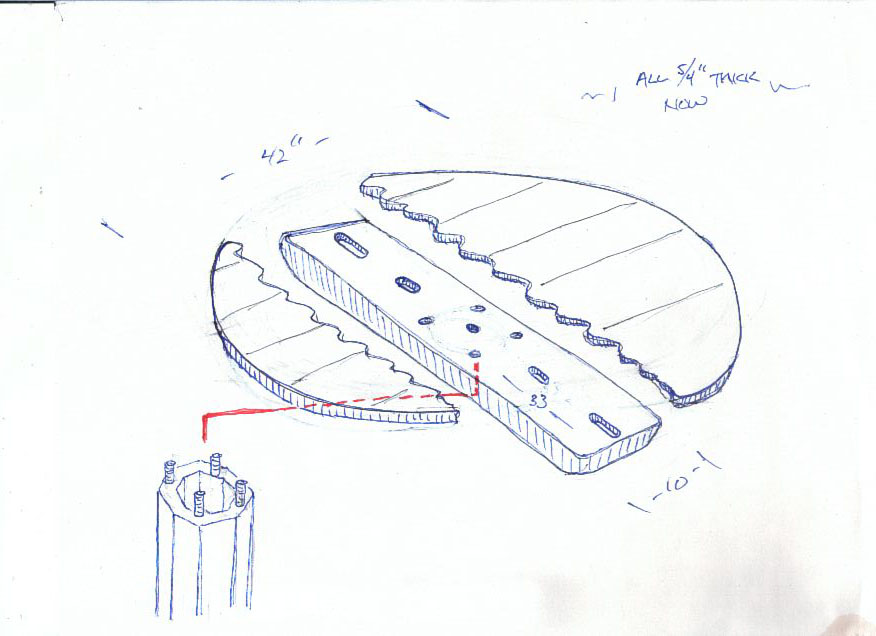
illustration
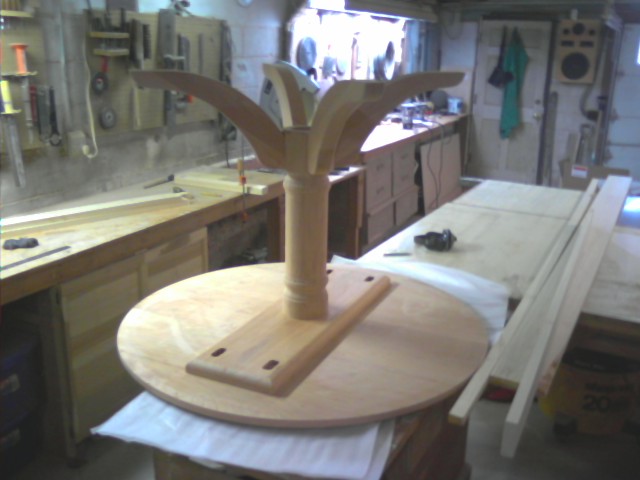
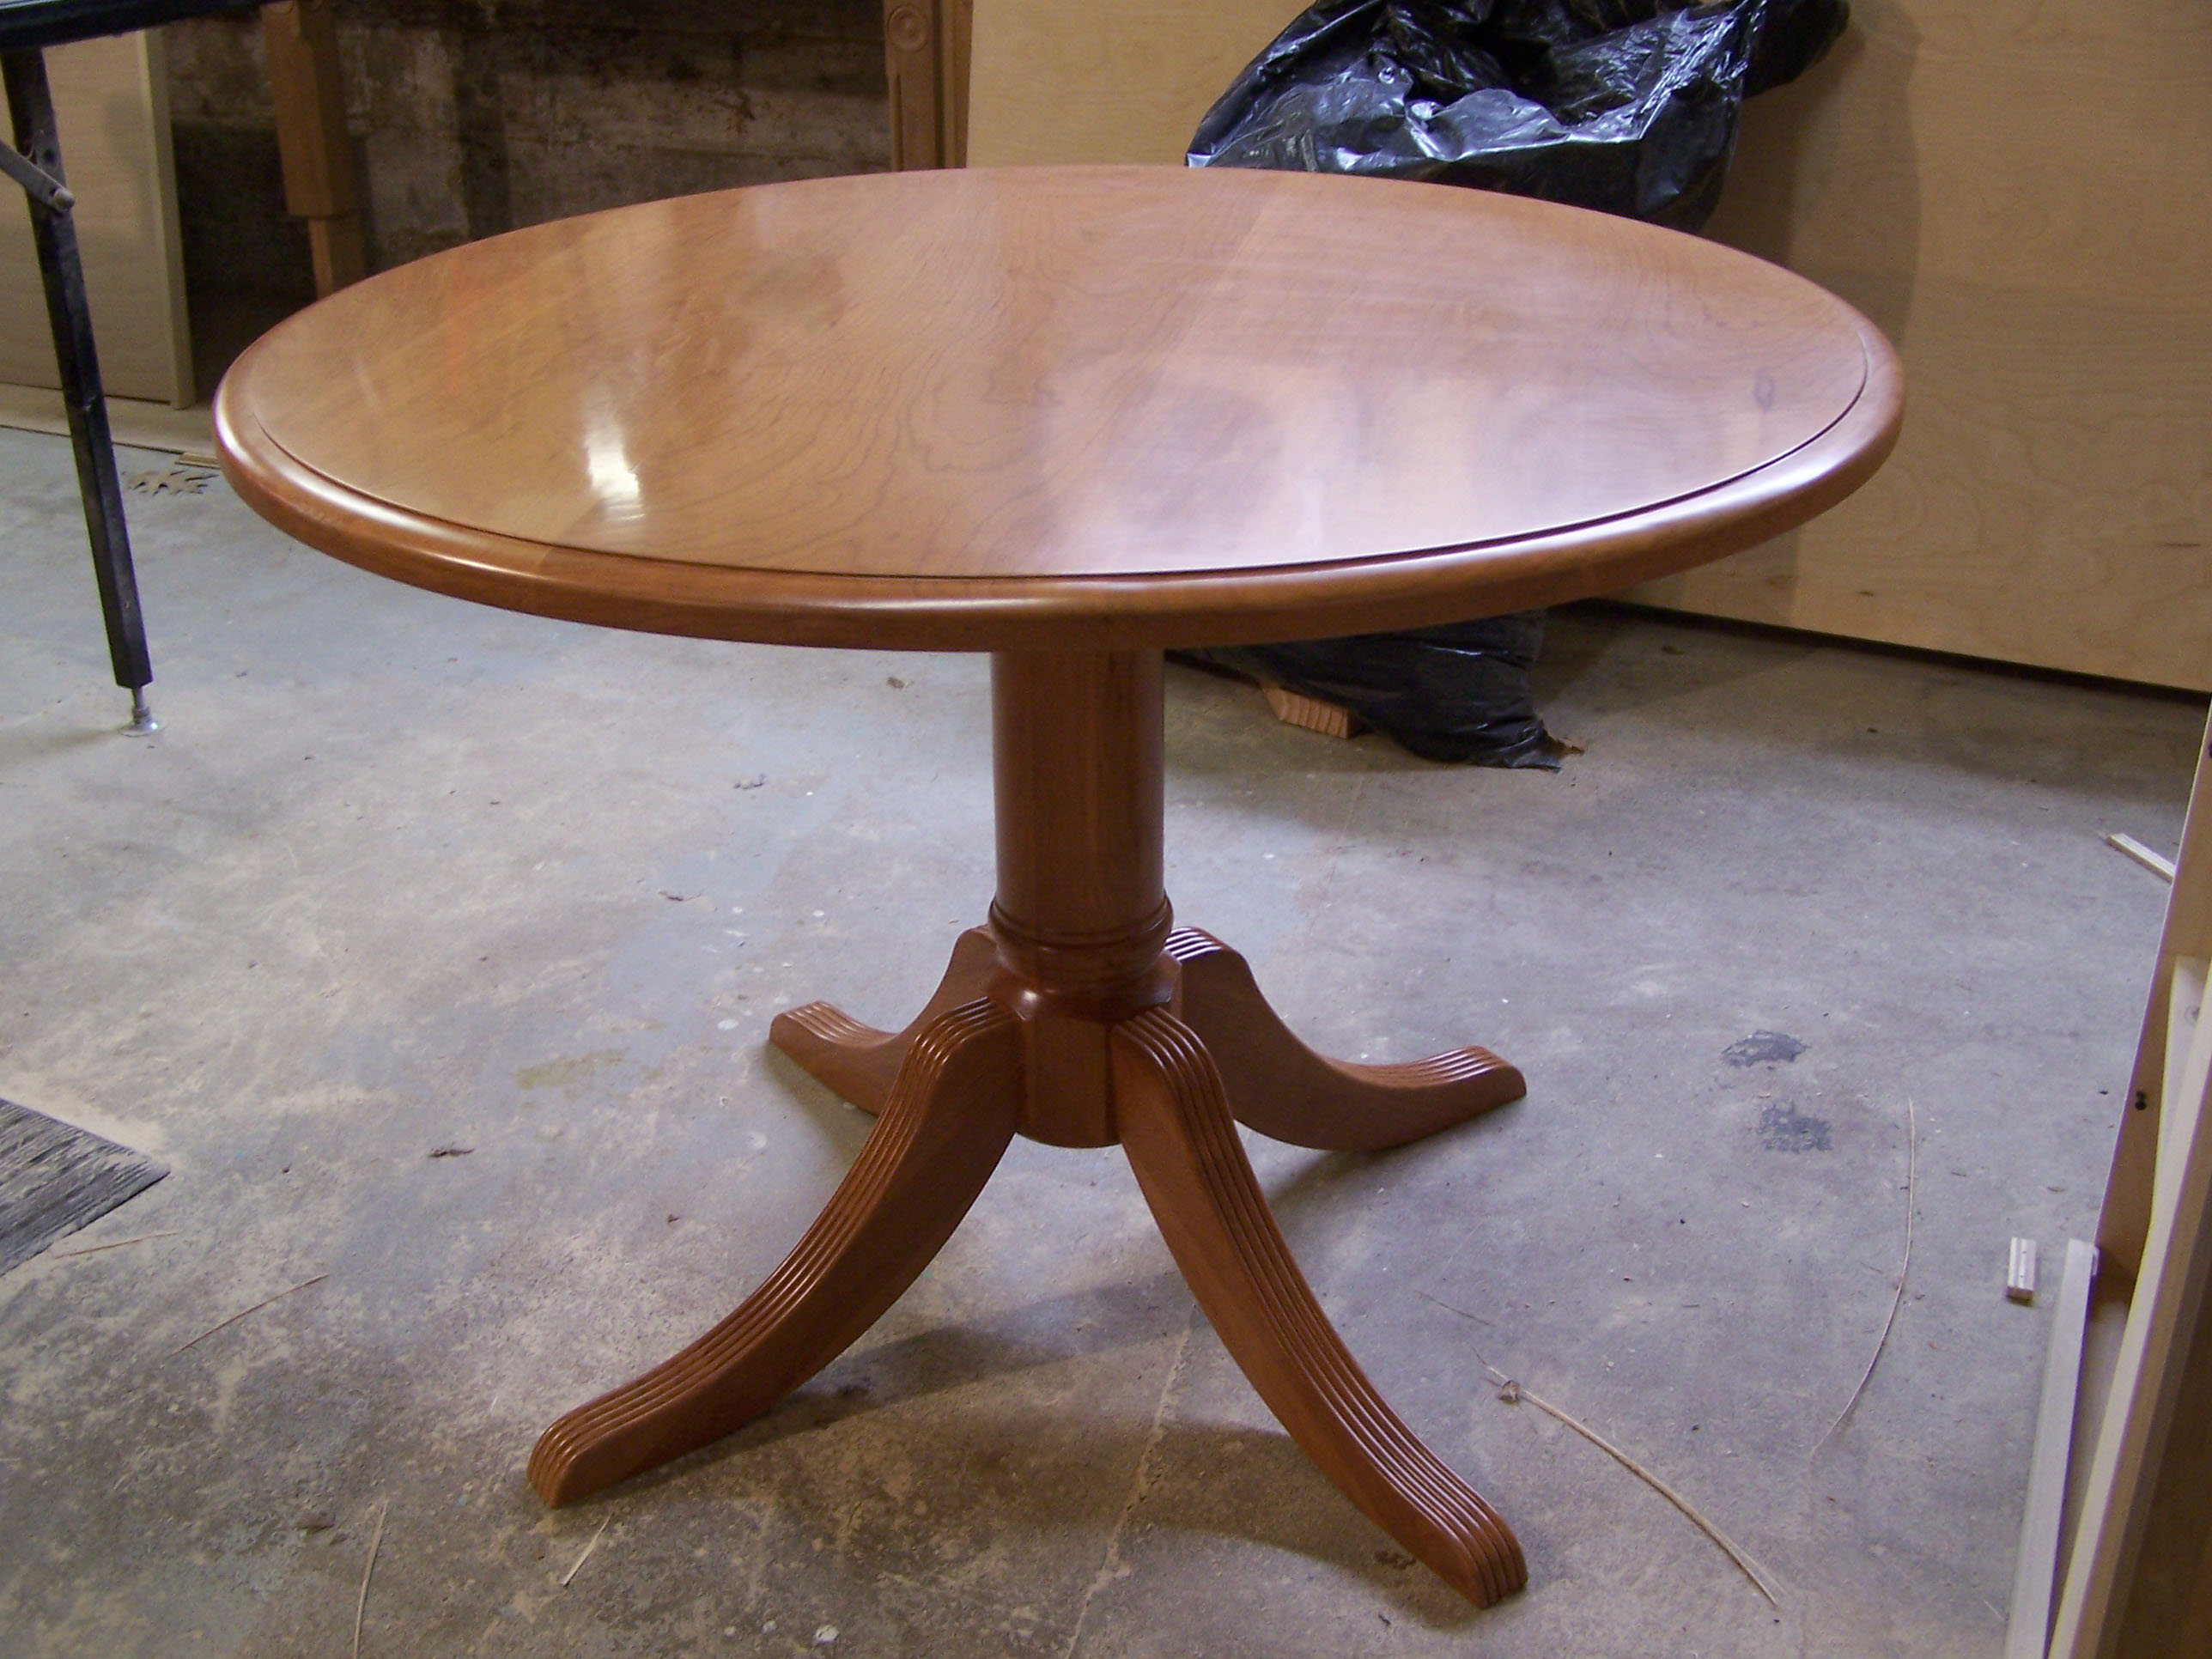
We were pleased with the way it turned out and, perhaps more importantly, so was the client. Here''s a shot w/o the top.

final assembly
Russell Hudson / www.hudsoncabinetmaking.com