Question
I have recently begun installing cabinets after having been mainly a framer with limited interior finish experience. I have done quite a bit of base and trim, but am new to crown molding. Wondering if any of you experienced guys would recommend getting a crown jig. I have been looking at the one at cutncrown.com. They also mention something about tricks for making invisible splices. Any tips regarding crown or light rail installation will be appreciated.
Forum Responses
(Cabinet and Millwork Installation Forum)
From contributor J:
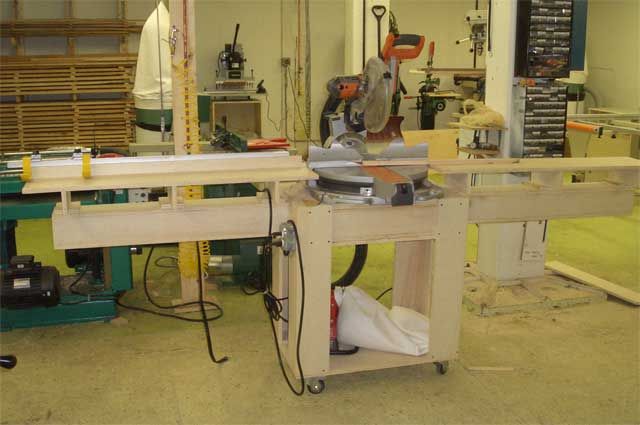
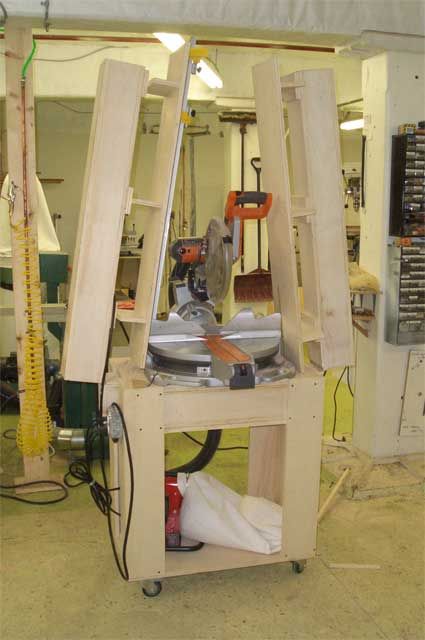
The easiest way to cut crown is on a regular chop saw with the crown leaning against the fence at the same angle it will be projecting from the wall or the top cabinet rail (called the "spring" angle). The top of the crown molding will be sitting on the bed of the saw and the bottom will be against the saw fence. That way, when mitering a 90 degree outside corner, you simply set the saw at 45 degrees and cut the molding. With sliding compound saws there are two angles to mess with, and adjustments are considerably more of a pain in the ass, and less accurate as well. Gary Katz has a good video on cutting crown molding that would be well worth your while. I wouldn't bother with buying a special jig for the chop saw if I were you.
As for invisible splices, the best I know of is to use a scarf joint. Simply cut your first piece at a 45 as if it were going into a corner, then cut your next piece at the same setting. Makes for a very clean joint.
Last, if you're going to do all mitered cuts, another method of doing them is upside down and backwards. This is how I first started cutting and still use it today. It is harder to explain than to show. But you are basically marking your crown, flipping it upside down on the chop saw so it is against the base and fence, and cutting the miter at a 45. A couple test cuts on some scrap crown and you will get the hang of it.
And I agree with the need for a 12" saw. It doesn't have to be a slider (although for really big crowns they can be useful), just a simple 12" miter that bevels in at least one direction.
The Hitachi saw is small and relatively light compared to some of the other, more recent sliders. I've looked around and I'm not wildly impressed with what's available to replace it with. Most have clumsy design or too many useless bells and whistles. A feature I'd look for if going this way would be bi-directional bevel. Imagine scribing a long piece of base that now needs a miter. It's hard to get a clean cut with that wiggly edge against the fence, but if you can bevel the other way when making the cut...
From what I've seen in supply houses as well as in the field, it looks like the Hitachi 10" and the Dewalt 12" are the ones to chose from. That said, I'd easily buy another 8.25" again. It's been a real warhorse.
Remember, whatever you buy will see a lot of use over a lot of years. With that in mind, the difference between a $200 saw and a $600 saw is inconsequential, especially when you take into account how much the lumber that you're going to whack up costs. ;-)
Very sturdy because it is torsion box design. No good for on site, but I have a folding Ryobi stand that does the job.
The crown stops for the Delta 12" slider are worth it, really helps keep the quality up. Cheap too. And get a 23 gauge pinner for the joints, using a few 16 gauge nails in the top and bottom.
If one, you can cut the crown square across the face at a 30 degree bevel. Then you can glue it up and pound the second piece tight with the heel of your hand. That won't work with a 45 degree bevel, because the second piece up won't slide.
If you install with two guys, you can pre-make your splices on the floor if there is enough clear space. One method is to set your saw at the most acute miter angle it will go to, then cut both crown pieces flat on that angle. Put a couple biscuit slots in the joint, and screw a block to the floor to push against with a shim. Put the crown upside down, glue, then clamp across the joint while shimming till you get a perfect joint. Then hot melt a plywood gusset on the back - ripped on the spring angles and held back some.
The same can be done with a butt fit and biscuits, and with two guys installing - presuming you have good backing - it can be done in the air (without the gussett).
Naturally, you don't want to cut your "square" crown ends square. You want to cut them with a couple degree angle off the top so you can pound a shim between the wall and end of the crown to tighten up butt fits and inside corners.
Gary K. and a bunch of other trim guys use the Collins coping foot, and all swear by it. It would probably be a good idea to give one a try. I've never used one - and the blade I use is probably too coarse for the foot.
Comment from contributor T:
Very interesting article and responses on the crown molding subject. It absolutely amazes me that the old thinking of using coping saws or making multiple cutting adjustments with a compound miter saw still even exists. I have been using the Cut-N-Crown jig since 2004 when I first saw it at a show in Villa Park, IL. There are definitely times when the jig collects some dust as I do not do crown all of the time but I promise as soon as a crown project comes up, it is the first tool in my trailer.
I bet I save hundreds of dollars each job on labor costs alone using that jig. Not to mention the money saved on wasted crown from bad cuts and the tubes of caulk or wood filler I do not need to use. I usually have to spend about five minutes with a new guy on our team to teach him how to make the cuts on the jig and then after that it is smooth sailing. I never have an unhappy client with it either as every corner matches up perfect for me and my guys every time. So you can watch all of the videos you want or try coping every corner but for me I trust the Cut-N-Crown jig for every crown molding installation we do for any client.