Dye Stain Blotching
A newcomer to spraying dye stains negotiates the learning curve. February 17, 2012
Question
I'm teaching myself to use dye stains after having only used spray and wipe stains and toners. I've managed to figure out how to get a nice even coat of dye laid down by thinning the dye (MLC Microton) about 200% and spraying light coats until I get to the colour I'm after.
The problem I'm having (and I'll admit I've only done a couple of small samples so far) is that when I spray a wash coat (Magnamax thinned with lacquer thinner 4:1) the dye seems to blotch up. I'm only putting down a thin washcoat, so I'm not sure why this is happening.
Here's my finish schedule for the sample I did yesterday that blotched:
1) Scuff sand wood with maroon scotchbrite
2) Condition by brush with Minwax wood conditioner - let sit for about 2 minutes and wipe clean. Let dry 10-15 minutes.
3) Spray 3 coats of dye reduced 200% with lacquer thinner giving about 3-5 minutes between coats. Let dry 10 minutes.
4) Spray washcoat 4:1 Magnamax/lacquer thinner (here's where it blotched up).
Should I be spraying my dye thinned with alcohol instead of thinner? The next steps are a spray/wipe stain with Woodsong2, tone, glaze, seal, topcoat. The material is maple.
Forum Responses
(Finishing Forum)
From contributor J:
It may not be blotching you are seeing. HVLP guns create sort of a mottling effect from the turbulence on the gun. It's usually sufficiently hidden after the wiping stain is applied. You may also be spraying the dye on too wet and that may be creating the blotching.
Here is how I do it.
1) Sand wood to 150 grit.
2) Box coat for a total of 4 passes with the dye/NGR. You should be at a point where the dye is just about to start to pool on the surface.
3) 5% washcoat.
4) Scuff with maroon scotchbrite.
5) Spray then wipe stain.
6) Sealcoat
7) Scuff sand
8) Glaze
9) Topcoat
Done. If you need a little more depth, you can add a toner coat after step nine, followed by an additional topcoat. Alternatively, you can skip steps 3 and 4, and for step 5, thin your wiping stain with 5 parts naphtha to 1 part wiping stain, and spray to color and don't wipe. This is usually 2 passes in a box coat. You want it to the point that the surface is evenly wet. Then follow the rest of the schedule. Should also note that this should only be done with industrial wiping stains� No Minwax for this. This requires a little more skill.
From contributor R:
Skip your step #2. No need for stain conditioner when spraying dyes.
From the original questioner:
Thanks guys! I did some more testing today and figure I was probably spraying the washcoat a little too heavy yesterday, causing the blotching/mottling. I was using a gravity feed gun which I'm still getting familiar with (been using AAA forever, so gravity feed is a small learning curve).
Managed to produce a couple of nice looking samples today using a mixture of the black and mahogany Microton dyes and early American WS2 spray stain. Wrecked a couple of doors as well, but I suppose I can still use them for solid colour samples.
One thing I noticed with the conditioner, even though it isn't necessary, it does make the dye stain more vibrant - probably due to the ambering effect of the conditioner. (The only thing I use by Minwax is their wood conditioner, and then only in a pinch.)
How do I knock out the bluish hue in the black dye? I was trying to get a true black on a door with a small amount of lighter grain showing, but the dye, even with the wiping stain, still has a blue tint to it. Not that it doesn't look good, it's just not what I was after - maybe add a touch of orange?
From contributor R:
I'm thinking it's a compatibility issue. Correct me if I'm wrong, but aren't you supposed to let that conditioner dry overnight before any washcoat, sealer, or topcoats go on? Not sure I've heard of anyone using it under dye stains before, only oil.
From the original questioner:
It could be a compatibility issue - hadn't considered that. I'll get some stain base from MLC and give it a whirl. I double checked the label on the pre-stain conditioner and it only needs to sit for 10 - 15 minutes, then stain can be applied at any time within 2 hours of application. Not 100% sure about topcoats though�
From contributor J:
Skip the stain base. Dye goes on raw wood.
From contributor C:
Used to have the same problem. Had the MLC rep with me, calling the chemists with no solution available. Switched to a
Sherwin Williams alcohol dye stain and have not had a problem since.
From the original questioner:
Interesting - I wonder if it is the dye then. I'll try using methyl hydrate as the thinner and see if that makes any difference. Seems odd that an MLC dye and an MLC topcoat wouldn't be compatible...
From contributor J:
The MLC dye and topcoat are fine. He is saying the
Minwax conditioner may be causing the incompatibility. Lose the conditioner and try another sample.
From contributor C:
I never used wood conditioner. The maple does not allow any penetration of the stain and any sealer put on after pulls the stain out.
From contributor J:
Sorry - I was referring to contributor R's comment. I too had some flaky experiences with MLC and have since switched to Valspar. MLC by far has the best looking cans, the best website, the best marketing, and the best distribution for the small shop. Unfortunately, they don't have the best products.
From contributor M:
I use alcohol dyes, spray directly on raw wood, then stain (I use oil based) topcoat, scuff, topcoat again and done. Anytime I get splotching it's because the wood is sanded too slick and it repels the dye instead of accepting it.
From the original questioner:
I do hear that there are better products out there than Campbell, but overall I've been happy with their paints and lacquers. I still use Valspar for some products, and would love to get my hands on some Target or Fuhr to try out. I've never used any Mohawk products but we have a distributor for them here as well.
Contributor M, you might be on to something there. I did sand the wood with maroon scotchbrite prior to spraying the dye. Perhaps I scuffed the surface too fine to let the stain absorb? Anyhow, managed to produce a couple of finishes that I'm happy with. Still need to do lots of testing with lots of different species of woods, but I think I'm starting to get the hang of it.

Click here for higher quality, full size image
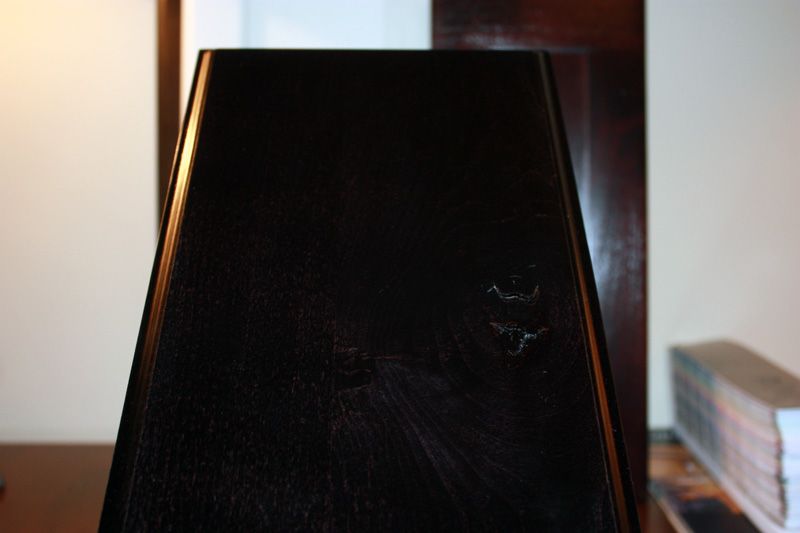
Click here for higher quality, full size image
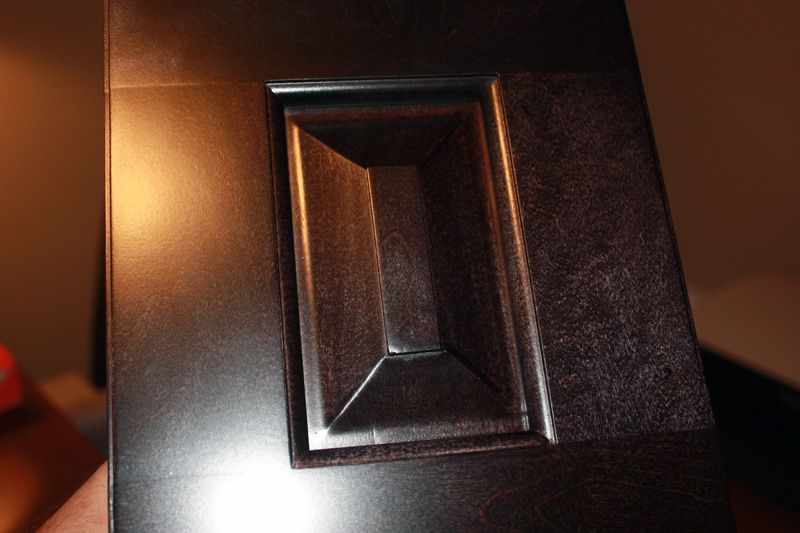
Click here for higher quality, full size image
From contributor M:
I think you should consider trying what I mentioned above. It seems to me your method and steps are going to involve a lot of labor when you get into a big set of cabinets. I use Mohawk dyes and oil based stain. I only use 2 different colors of their dye (brown mahogany and colonial maple). I use about 4 or 5 different stain colors. You can actually come up with a lot of different variations. Light dye with a stain, same dye but a heavier coat with the same stain = darker richer look. Just throwing that out there. I think with your method you would either not make much profit or have to charge so much to make profit that you might not be competitive.
From the original questioner:
Do you washcoat between your dye and oil stain, contributor M? Is that a necessary step? I would assume so to avoid blotching, but I could be wrong. As for using the conditioner first, you guys are right - it's not needed and I skipped that step for the doors in the photos.
You could be right about the finish schedule being too laborious for a large project, but I tend to do fairly small ones for now and I'm just experimenting with new finish systems.
Who do you get your stains from? Are they quick drying oil stains? I definitely want to stick with quick drying products for the time savings - it's nice to be able to stain and finish in one day (or at least only topcoat the second day).
From contributor W:
Don't use scotchbrite to sand prior to stain; instead sand to 150 or 180, 180 being the finest. If you sand too fine it will burnish the wood and the dye and/or stain will not penetrate, leaving the blotching when sprayed. Also don't use the pre-seal; instead try mixing the dye in equal parts of Amazing Stain clear base. This stuff is truly amazing, although it is just a vinyl based toner and can be made by any supplier that has knowledge about vinyl based toner. I think it is something like 9 or 10 parts thinner to 1 part vinyl sealer, then tinted with dyes and/or pigments. I have used 16:1 vinyl sealer and thinner. The MLC shading additive also makes a good spray stain. You can spray on as many coats as needed to get the color you want. You can also spray over your sealer coat. I hardly ever use wiping stain unless of course I am matching a wiping stain for an existing cabinet example, a replacement door or something like that. Wiping stains will blotch almost every time.
From contributor M:
I've never done a washcoat. All our parts, which are usually soft maple, are sanded to 120 grit. My gravity gun is adjusted down where it just sprays a light mist (more air and less fluid) and I have had customers actually like the color of the dye as the finished color! After the dye I stain. I use Zar brand stain - not going to say it is the best, but I did some samples with this brand and that's the color everyone seems to want. I'd actually like to get away from it because it is so thick and takes more labor to wipe it back off. I can usually get two good sized kitchens from one gallon. The label says to let it dry for three hours before finishing, but I usually wait until the next morning. I then spray a coat of CV and when that is dry, I scuff with 320 grit and then another coat of CV.
From the original questioner:
So I ran the problem across my MLC rep, and he suggested the problem was spraying the washcoat over the dye. He tells me that wiping stains should be followed by the dye without a washcoat, and that it should then be sealed. Looks like you were right, contributor M!
His explanation for the problem was that the material is so thin, when it begins to dry it pulls the colour from the dye and creates small, barely discernible pools of colour as the product shrinks and tightens up. I've gotten my hands on some Valspar Duraspeed (the original - apparently they've just changed the formulation and now it sands like crap) to test this theory (just want to make sure it's not the actual product that's the problem).
From contributor Z:
Every wood sucks up and absorbs dye differently, even the same species. I spray stain almost exclusively, using alcohol or acetone to dilute. I don't want to wait 15-20 minutes - I prefer 5-10. I always have three aniline dyes mixed in a stock solution - red, blue and yellow. Since your finish is too blue, go to the color opposite blue on the color wheel (orange) and slowly adjust the tone and color from there.
The other thing I do to prevent any washing out of sprayed dyes once satisfied is spray sanding sealer on the dye layers to fix them and prevent anything (solvents, water, touching, etc.) from messing with the evenness of the color to that point. It just makes handling the material easier.