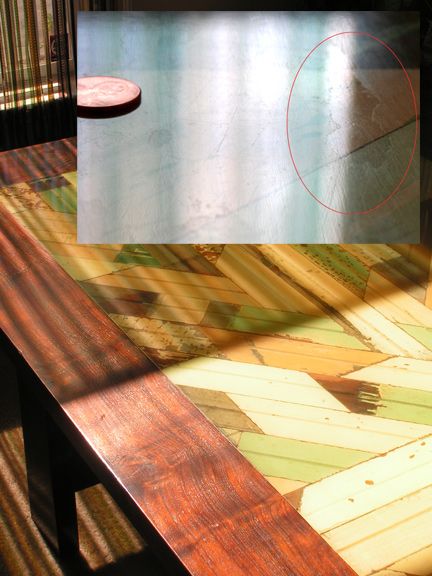
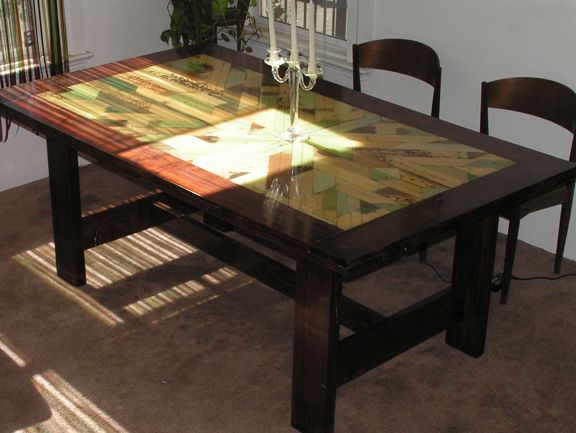
Question
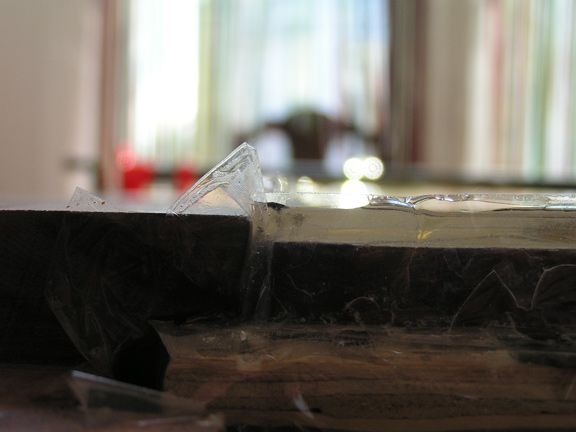
Due to apparently not having the precision level work surface, this "self-leveling" epoxy pour inlay required, well, some leveling to bring it flush to the frame. I had great difficulties bringing the abraded epoxy to its original poured level of gloss, even with a tight sand/wetsand index up to 1500, then compounding. Frustrated with working the epoxy, I chose to do several coats of Waterlox original over the epoxy. I brushed rather than sprayed to gain sufficient build, then sanded/wetsanded 400, 600, 800, 1000, 1500, then compounded. In this process I seem to have gone through at least a coat of the Waterlox and now have subtle but annoying halos throughout the finish (see picture close up).
Any ideas on either A: somehow diminishing the halos, or B: stripping the varnish and finding a more effective means of sanding epoxy to a gloss? For anyone researching/considering large self-leveling epoxy pours, I can't stress enough the importance of an absolute precision level working surface.
Forum Responses
(Finishing Forum)
From contributor M:
The Waterlox should come off with lacquer thinner. Pour the epoxy proud, then sand down level. Ending with 220 should be fine. Then pour a thinned coat of the epoxy to "reclarify" the inlays. If the epoxy blushes, wash with soapy water the next day. After 3 days or full cure, spray with satin spar varnish if you don't want the typical super gloss of the poured finishes.
When you want to rub a finish out to a gloss, the finish has to dry hard (aka, brittle) in order to accept the polishing. Waterlox is not a hard finish; it's durable, but relatively soft. There are oil-base varnishes that dry hard and can be rubbed out, but Waterlox Original isn't one of them.
To move forward, it's best to remove the Waterlox and use a harder varnish. It's never a good idea to apply a hard finish over a soft finish because of the likelihood it will crack. If it has started to cure (crosslink), you will likely need a paint and varnish remover to get it off. Once off, you can apply a different finish in its place that will rub out better.