Question
I am re-finishing the interior of a 17 year old boat, all Brazilian mahogany. Below is my interior varnish system. Any critiques, comments, and ideas are deeply appreciated (no ego here, I want to learn). My limitations are the obvious ones - large spaces, drying time, cost, humidity, etc. I need to keep the interior somewhat light, so I have been using products that darken little with time (no linseed) and are lightfast. I'm in Brazil and I can only import solids. I will be posting photos and getting into details of every step as I get to them, so any comments on my next step are appreciated.
For smaller and more important items my system changes, I use my creativity. This system is for walls and cabinets only. Old opaque oil varnish removed, wood prepared, sanded up to 180 grit, oxalic acid, distilled water with a little baking soda, sanded with 220 grit.
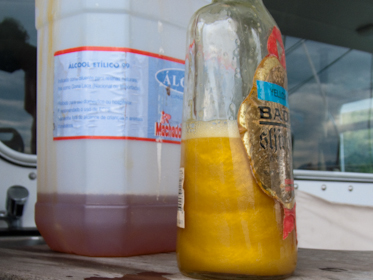
Sealer: Two coats - dries overnight (it seems). I cook two parts cold pressed polymerized Tung Oil from Paraguay (lighter colored and less darkening than Chinese, color gardner equals 7, RI 1.52) 2 parts Colophony w/w-x, let it cool, add one part Canada Balsam, cool some more, add five parts turpentine, and store. When ready to use I dilute one part varnish, and nine parts white spirits and then brush it in. This penetrates deep and enhances the grains and gives internal reflections.
If anyone would like to cook their own varnish please research carefully, do it outside and have a fire extinguisher at hand and proper protection. Please do extensive research before as it can be dangerous. Several people have been badly burned before.
Extra blonde de-waxed shellac one coat with a rubber 1lb cut (I'm fast with a rubber and no sanding necessary). Extra blonde de-waxed shellac 2lb cut with yellow and gold pigments from Kremer, two coats with rubber.
Grain Filler: (no decent ones in Brazil, so I cook my own). I cook five parts of an already prepared high quality deck oil (made of the same cold pressed polymerized tung oil from Paraguay plus castor oil plus modified colophony, etc.) with one part Colophony w/w-x and turpentine (following the chemist who makes the deck oil's instructions).
5 ml of cobalt dryer per liter of varnish.
Grind silica finely with varnish.
Color with Kremer's Pearl Luster COLORSTREAM Magic Indian Summer.
Isoindole yellow, Indian yellow Imitation, and Van Dyke brown.
Thin with white spirits.
Apply with a brush plus a card, burlap and cheese cloth, as usual (dries in two to three days).
Color.
I use shellac, extra blonde or ruby with pigments, bitumen of judea on turps with alizarine crimson for darker woods (details when I get there).
Varnish:
One coat of extra blonde de-waxed shellac to seal. Two to three coats of (here is where my heart weeps) Sayerlack two part poly, very transparent, and lots of gloss.
Before anyone says anything, the reasons for this heresy (two part poly) are long lasting gloss (makes her look brighter, larger, and more expensive), great humidity protection, long life (it's proven two part outlasts, one part oil in marine environment), easy application, fast drying, and when applied with HVLP no need to polish.
Low maintenance oil varnish needs constant cleaning because a white haze appears above the varnish in humid climates (some walls and cabs every two weeks), it does not happen in two part poly. I cannot (as far as I know) get a great quality oil varnish in Brazil that would give me this properties. The parts that receive lots of UV I apply epoxy plus poly (details when I get there).
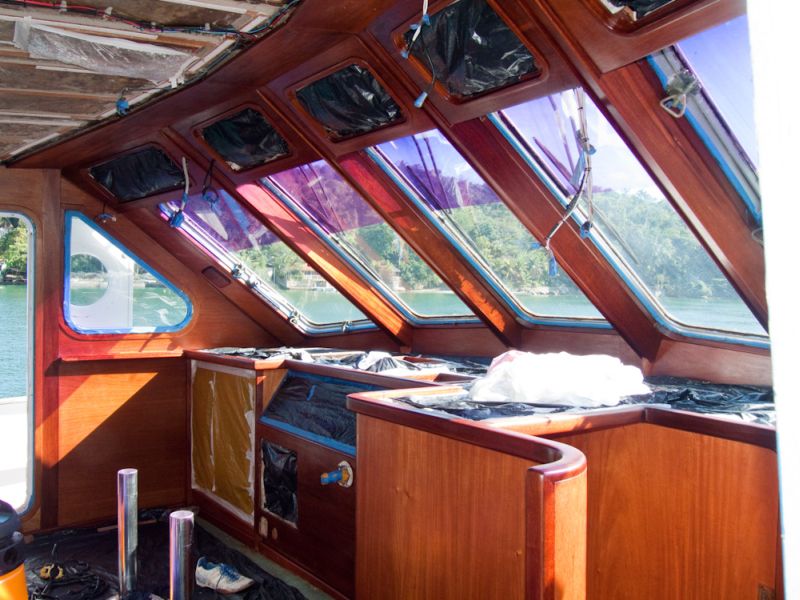
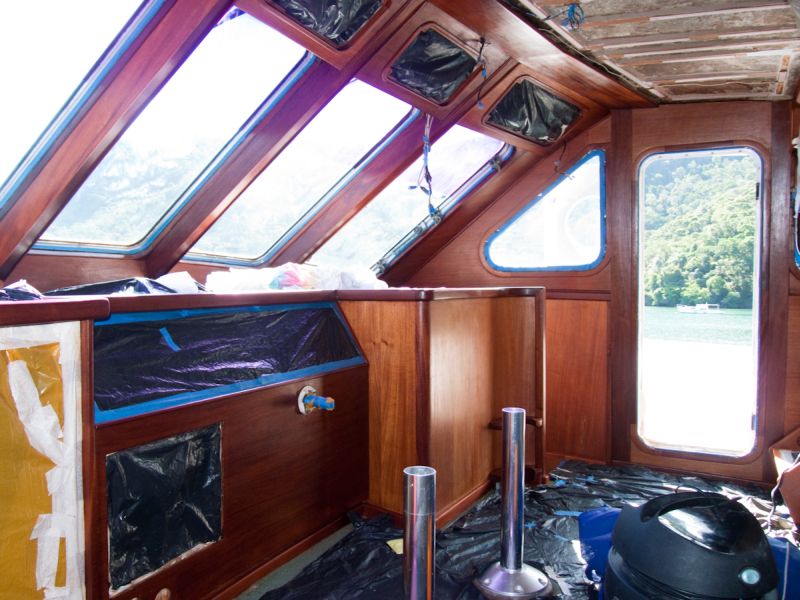
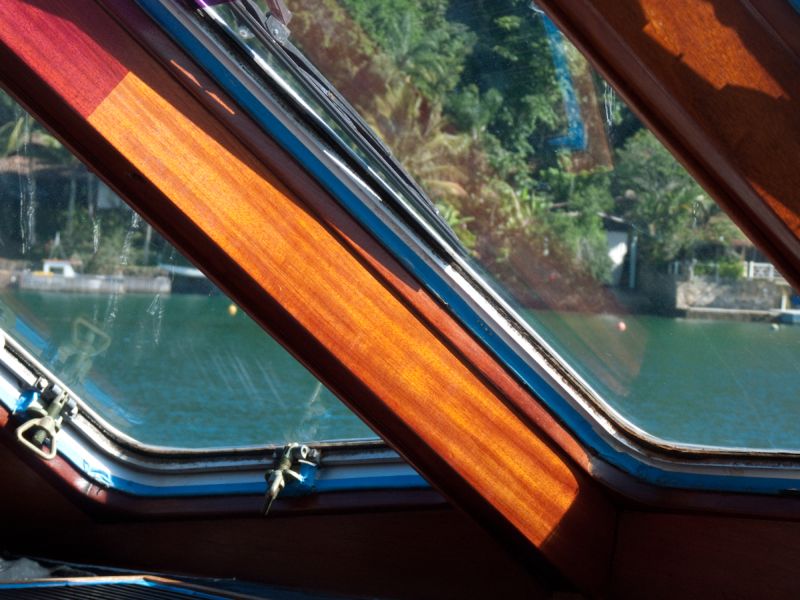
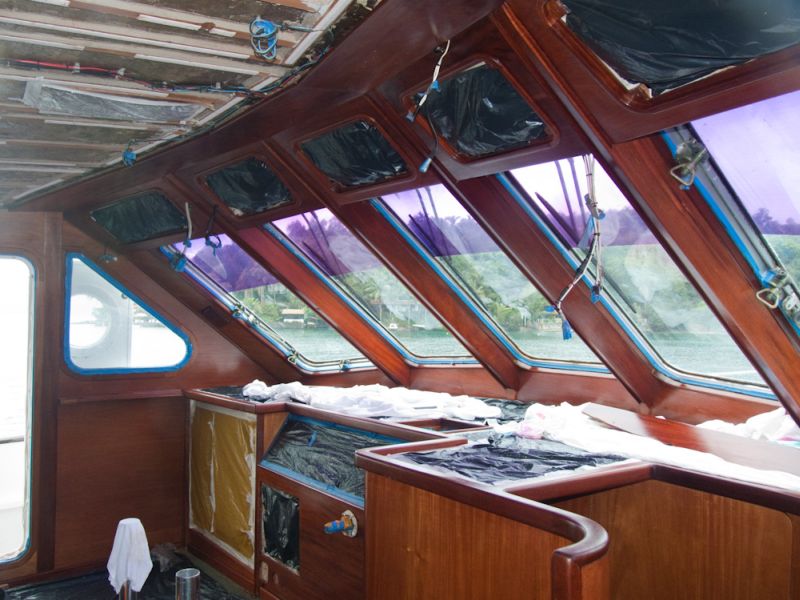
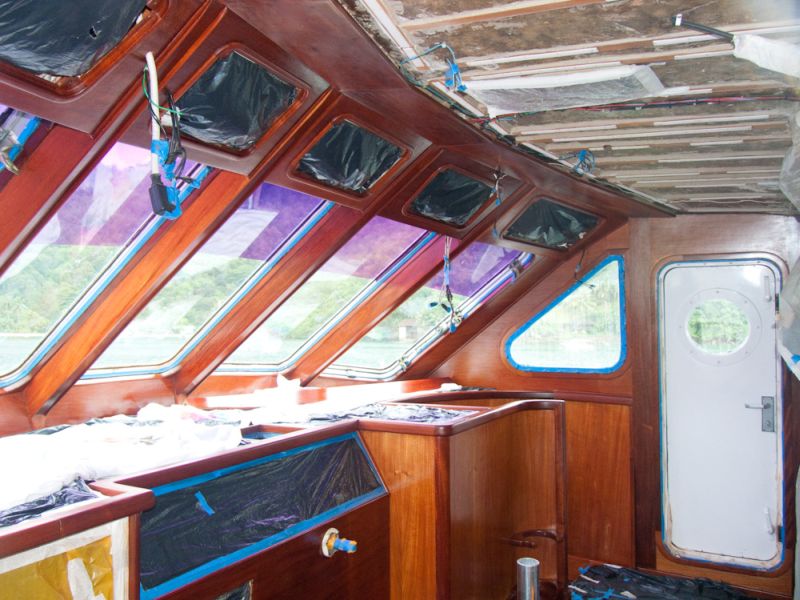
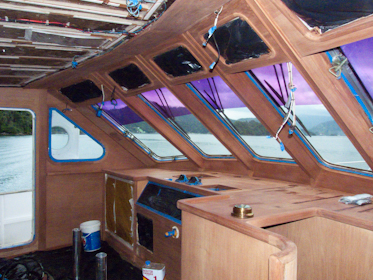
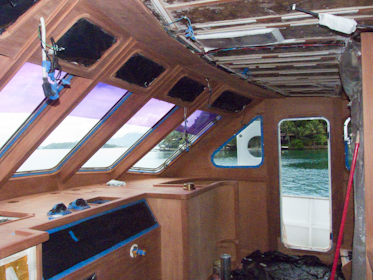
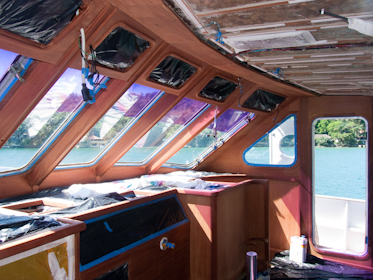
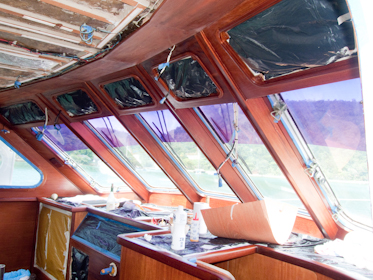
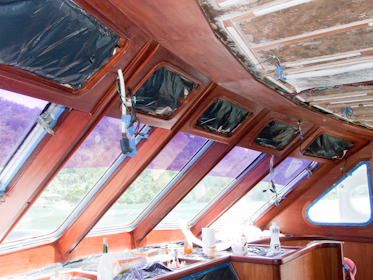
Sanded Pilothouse - still needs dusting.
Forum Responses
(Finishing Forum)
From the original questioner:
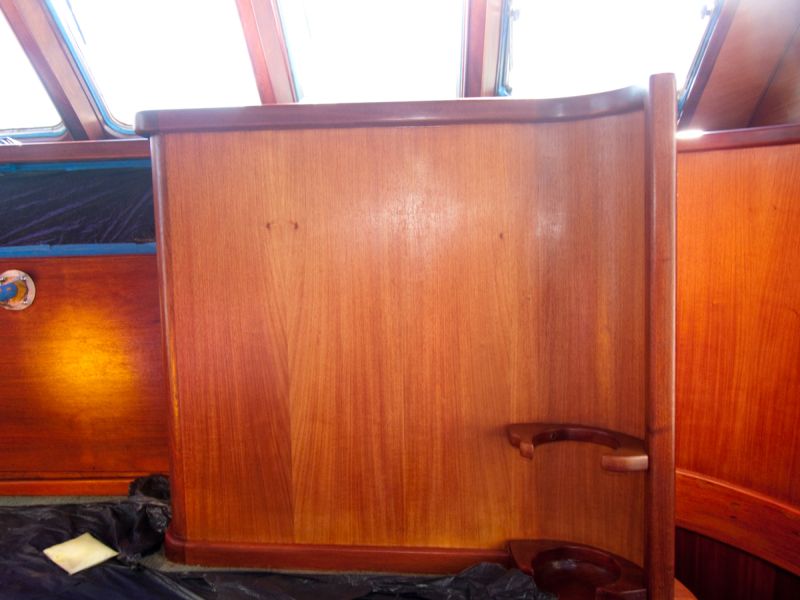
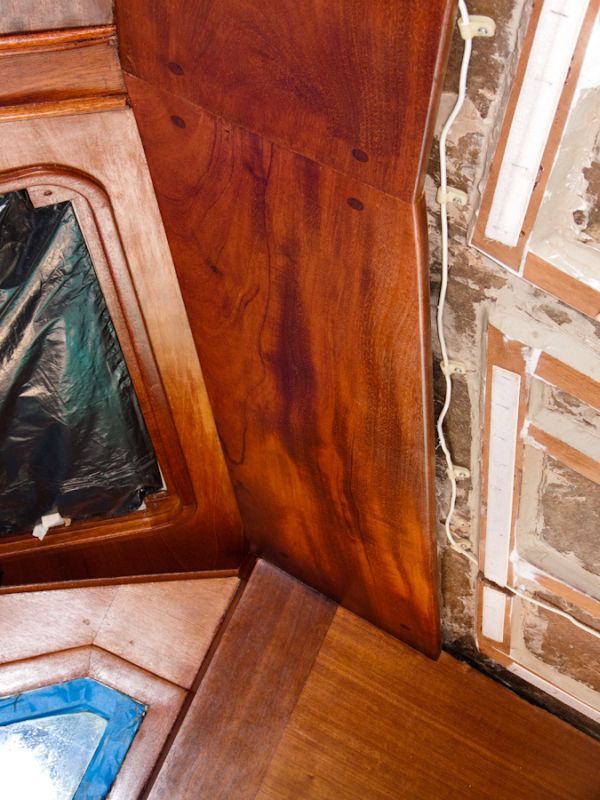
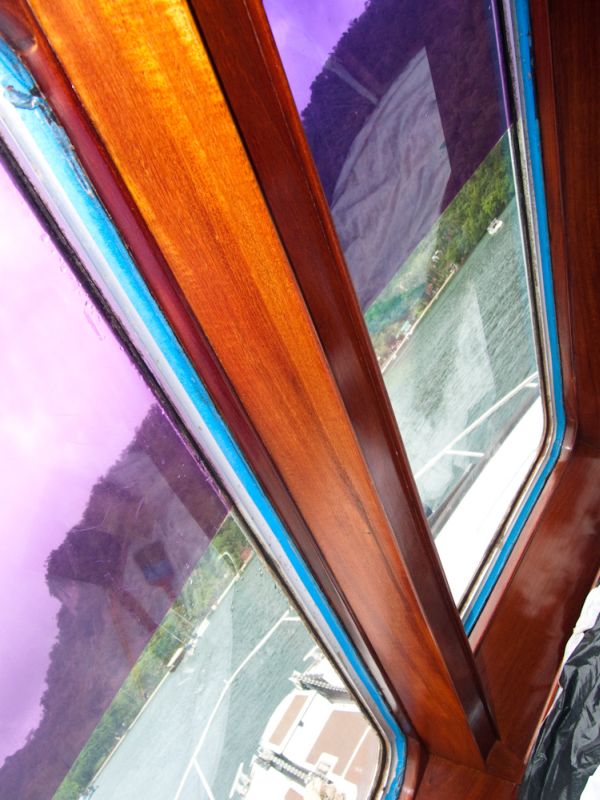
Thin Tung Oil, colophony, and Canada Balsam Sealer - two coats.
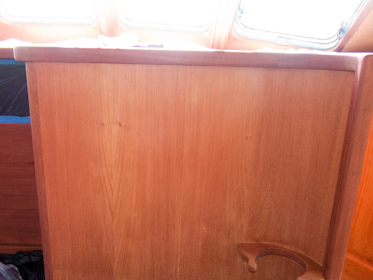
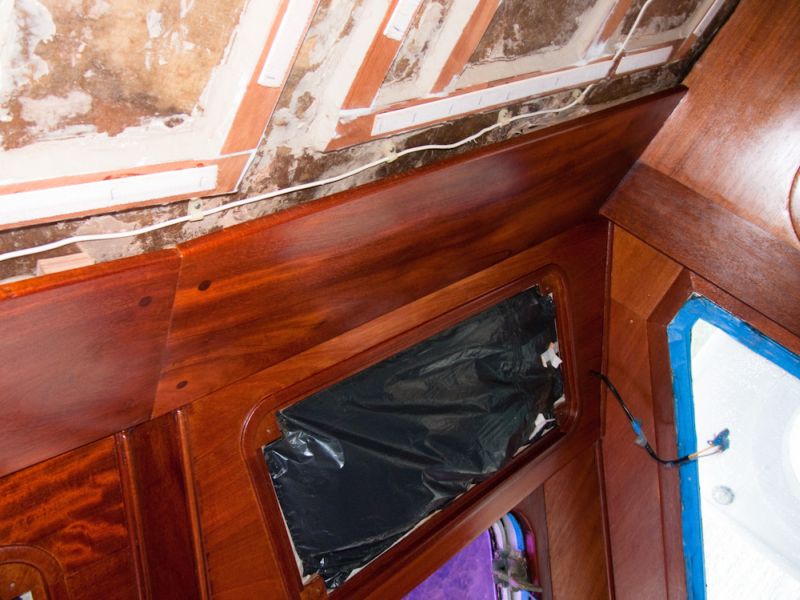
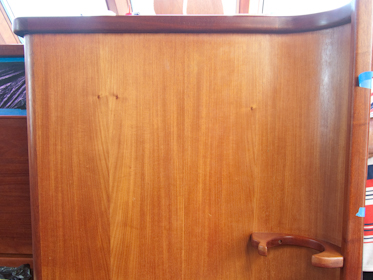
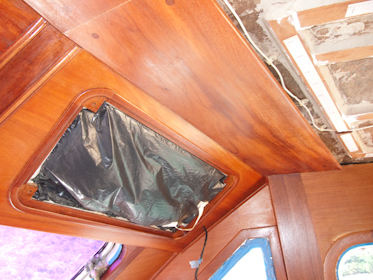
I still need to deal with the stains in the two bottom pieces on the third picture. I wanted to seal first, and I'll darken the light part with ruby shellac. It should disappear. All defects need to be puttied and I'll take care after the grain filler and one coat of shellac. The wood is sealed.
My response: switch to TSP [tri-sodium-phosphate] 1-2 Oz, [ 30-60 grams] per gallon. More powerful alkali than baking soda, assures full neutralization of the oxalic acid.
Original Questioner: "I cook two parts cold pressed polymerized Tung Oil from Paraguay (lighter colored and less darkening than Chinese, color gardner = 7, RI 1.52) 2 parts Colophony w/w-x let it cool, add one part Canada Balsam, cool some more, and add five parts turpentine, and store."
My response: Even your w/w-x window pane clear pine resins will darken with age, your defeating your intents of keeping it light by the incorporation of the pine resins/balsams/etc.. Your heating of an already polymerized tung oil is also unnecessary unless you can give me chemistry reasons for doing such that you see or have been told are enhancing this is some way? Colophony is notorious for turning dark and separating into bumps and islands on antique furniture and is not necessary in expense or chemically to obtain what is readily obtainable with or by the use of P-tung oil by itself. Though since we are talking a "boat" and not long endurance needs such as interior furniture, i will leave that up to your preference in the matter.
Original Questioner: "I cook five parts of an already prepared high quality deck oil (made of the same cold pressed polymerized tung oil from Paraguay, castor oil, modified colophony etc.) with one part Colophony w/w-x and turpentine (following the chemist who makes the deck oil's instructions). 5 ml of cobalt dryer per liter of varnish, and grind silica finely with varnish."
My response: Cobalt drier is fine at that amount but is only a surface dryer not a through dryer, add the same amount of through dryer such as aluminum to your mix. You do not specify the size of grind of the silica? Hegman 5-6-7-? I would also suggest Kremers mountain crystals instead of silica. It�s already fine grind and easy to incorporate.
Original Questioner: "Color with Kremer's Pearl Luster COLORSTREAM Magic Indian Summer, Isoindole Yellow, Indian Yellow Imitation, and Van Dyke Brown. Thin with white spirits."
My response: I assume this is for decorative/artistic motives, so no real comments here. Everyone to his/her own on such things.
Original Questioner:
"Varnish:
One coat of extra blonde de-waxed shellac to seal. Two to three coats of (here is where my heart weeps) of Sayerlack two part poly, very transparent, lots of gloss.
Before anyone says anything, the reasons for this heresy two part poly) are long lasting gloss (makes her look brighter, larger and more expensive), great humidity protection, long life (it's proven two part outlasts one part oil in marine environment), easy application, fast drying and when applied with HVLP no need to polish.
Low maintenance - oil varnish needs constant cleaning because a white haze appears above the varnish in humid climates (some walls and cabs every two weeks), it does not happen in two part poly. Plus I cannot (as far as I know) get a great quality oil varnish in Brazil that would give me this properties. "
My response: What concerns me about your statements here is that you say nothing about sanding the shellac before applying the 2K urethane? I'm sure you must know the two do not meld together into one unified coating? The only attachment of the urethane to the shellac would be that mechanical adhesion provided by scratches in the shellac coating. Not being intimately familiar with sayerlac products I do not know if they are a HDMI, TDI, or MDI urethane. Hopefully the HDMI type as they are far less toxic.
Secondly, does it contain any HALS? UV Stabilizers and of what type are they? My main concern though is to the life of this system - if it were me personally, I would do many adhesion test to make sure that the final film of urethane is well bonded to the shellac before proceeding with the system on the actual project!
Honestly if it were me I would have used all that you�re doing in a one system only approach, everything you state you want to achieve could be done with nothing more than a good urethane 2K system, including the filling.
1: I will look for TSP.
2. Contributor Y�s response: �Even your w/w-x window pane clear pine resins will darken with age, your defeating your intents of keeping it light by the incorporation of the pine resins/balsams/etc. Your heating of an already polymerized tung oil is also unnecessary unless you can give me chemistry reasons for doing such that you see or have been told are enhancing this is some way? Colophony is notorious for turning dark and separating into bumps and islands on antique furniture and is not necessary in expense or chemically to obtain what is readily obtainable with or by the use of P-tung oil by itself. Though since we are talking a "boat" and not long endurance needs such as interior furniture, i will leave that up to your preference in the matter.�
Thank you once again, I should have told the whole story, but did not want to make too long a post, I'll try.
I started a cabin at a time, making my system better (I hope) as I went along. All of the under deck, where it really needs to stay light (dark small spaces) does not have this first Tung/Rosin/Balsam varnish/sealer, only the last cabin has polymerized tung oil diluted 20/1, the rest straight shellac.
Since I�ve liked the diluted Tung Oil so much I decided to try in samples a diluted Rosin Varnish as it looked so much better than the diluted or not diluted oil, so I did all the pilot-house drawers that way. I didn�t expect it to be so much nicer looking than everything else, so I decided to do it in the whole pilothouse knowing that if it darkened it�s not a problem, lots of windows there. It is so thin that I thought it would not separate. I did some tests where it gets lots of sun, salt water etc, and is doing well still and is very clear - am I wrong?
The reason for heating is incorporating the colophony with the tung. I use the polymerized so my cooking time is shorter (no need to polymerize) and temperatures lower (safer), according to the same chemist, this colophony only needs 68 to 78�C to melt (does is sound correct)? I�ve done the thread in the fingers test and it is fine, also many other tests) plus the IR of an oil varnish is greater than that of any of the components.
I buy most materials from a chemist down here. He assured me that this colophony does not darken with time (I believed him, now I�m confused), plus I�ve read somewhere that the w/w-x grade does not darken. I still have the saloon and kitchen and I do not want more darkening with age in these two places. The pilothouse is fine if it darkens more.
I�ve added the Canada balsam, but I�m not sure if the volatiles could be a problem as I was under the impression that it acts as a plasticizer. It gives me more reflections than without, lots of research in the net and books, and it appears the darkening is very small. It seems that the problem is more yellowing, yellowing I like.
3. Contributor Y�s response: Cobalt drier is fine at that amount but is only a surface dryer not a through dryer, add the same amount of through dryer such as aluminum to your mix. You do not specify the size of grind of the silica? Hegman 5-6-7? I would also suggest Kremers mountain crystals instead of silica. already fine grind and easy to incorporate.
Aluminum, interesting. Any more specifics? Perhaps a chemical name? What percentage? What about borax? Silica - I can only find one kind down here, in marine shops used for epoxy/polyester resins. I�ve tried to find out what kind of silica it is with lots of elbow work in a pestle and mortar it becomes pretty transparent. I will purchase the mountain�s crystals, thanks again.
4. Contributor Y�s response: What concerns me about your statements here is that you say nothing about sanding the shellac before applying the 2K urethane? I'm sure you must know the two do not meld together into one unified coating? The only attachment of the urethane to the shellac would be that mechanical adhesion provided by scratches in the shellac coating. Not being intimately familiar with sayerlac products I do not know if they are a HDMI, TDI, or MDI urethane? Hopefully the HDMI type which are far less toxic. Secondly, does it contain any HALS? UV Stabilizers and of what type are they? My main concern though is to the life of this system - if it were me personally, I would do many adhesion test to make sure that the final film of urethane is well bonded to the shellac before proceeding with the system on the actual project!
I lightly sand the shellac - I wonder if Scotch-Brite is enough? HDMI, TDI, MDI, HALS - I don�t know as the cans do not indicate say nothing (industrial products) and the data sheet either. UV - good point, I was going to get there. The Sayerlack technical people say that for interior furniture/walls in a house I do not need their UV product, below deck, much less UV than a house, but now I�m at the place in the boat that receives the most UV. I have a gallon of their UV exterior stuff and can also buy Interlux�s Perfection if better.
5. Contributor Y�s response: Honestly if it were me I would have used all that you�re doing in a one system only approach, everything you state you want to achieve could be done with nothing more than a good urethane 2K system, including the filling.
I think that might be a matter of taste as that�s how it all started two part poly. I tested everything available down here, and ended with Sayerlack�s industrial system. The next step I did was one wall here three years ago - the one that could have had all the problems, the one that separates the anchor chain compartment, gets hit by the very heavy anchor chain often, lots of humidity, etc. I used Tung oil, shellac, sayerlack pu grain filler, and sayerlack pu varnish, and it looks better today than three years ago, I think it�s the shellac.
I�m not happy still, the grain filler needed four coats to fill the grain, plus a lot of sanding (have to apply with brush in these spaces, HLVP is hardcore). I did not like the look as I tried to cook the grain filler for the laundry. It�s much better for my health and looked a lot nicer, and improved when I got to my cabin and added Kremer�s pigments and the diluted tung oil. I was afraid people were going to give me a hard time for using poly.
Shellac is not affected by UV, and all the pigments I'm using have lightfastness of 7 (max) by Kremer's measurements, oil varnish if it does not receive direct sunlight. As far as I know it does not need UV (violins with hundreds of years) so I think, but I'm no expert. He said if I sand that 600 is the best, as it does not show any scratches. Also the adhesion tests I've made the right way (cutting with a blade in fish skin type format and duct tape). What I could not get from him was an answer as to how long a poly film is expected to last. Shellac and oil varnishes we know can last a long time, but poly?