Milling lumber from logs
Other Versions
Spanish
French
Here's the steps it takes to harvest, skid, and mill a log into lumber using my Norwood Lumbermate band saw mill. April 25, 2001
by Robert Sokolowski
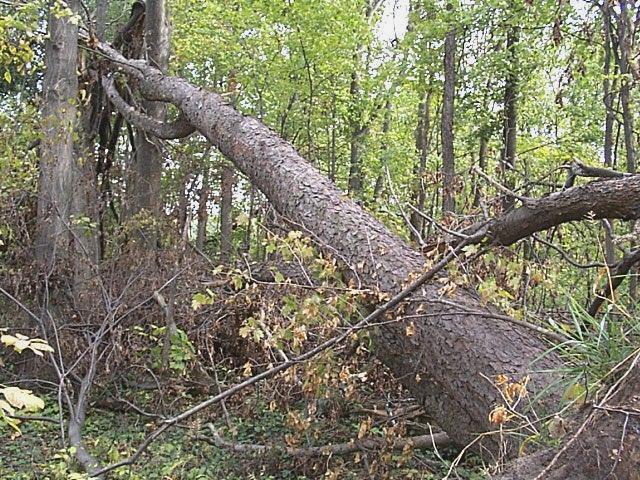
It all starts here. This is a black cherry that was blown over by a huge wind storm that also destroyed more than half of the barns in my area.
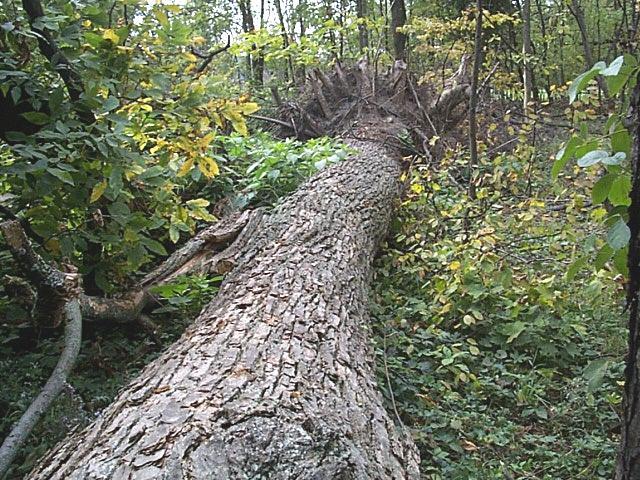
It also blew over some of the best, and oldest trees in my wood lot. Here's a huge oak.
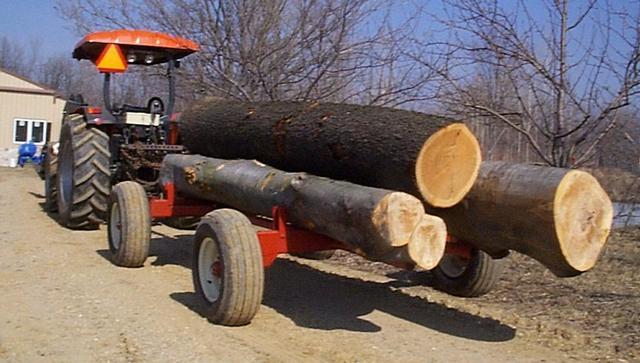
I skid or carry the logs out to an opening with my tractor, and then haul them home on a 10 ton running gear. The bigger beech in this picture is the same one that made the nice flitches shown in my Norwood edger album. The other log is a cherry.
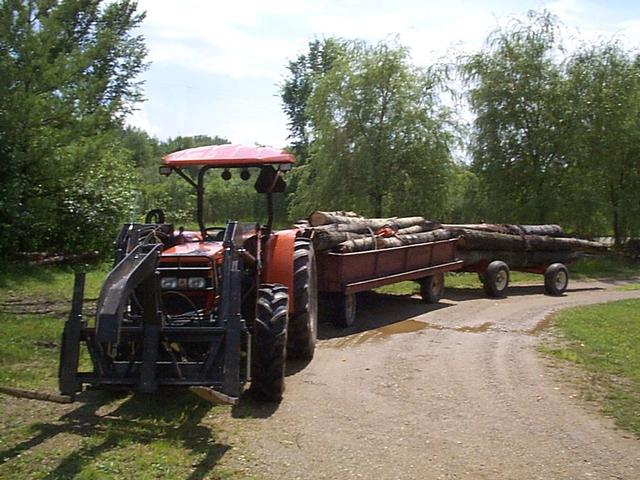
I traded for these poplar logs from a guy that lives several miles away from my farm. Pulling doubles makes for fewer trips to get them all home.
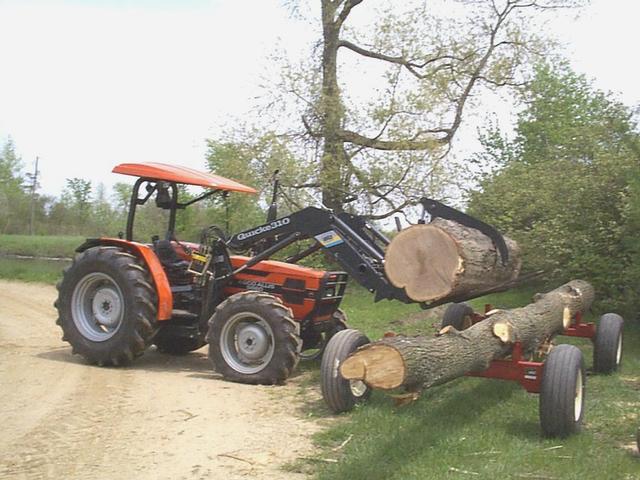
My FWA Agco Allis tractor makes short work out of logs like this 29" x 10' red oak. This loader will pick up more than 3,600 pounds! There are quite a few logs of this size on my farm.

If I have more logs than I can mill in a few weeks or so, I store them in my ponds. Logs are full of water, and keeping them wet will also make sure they won't dry out too fast while waiting to be milled.
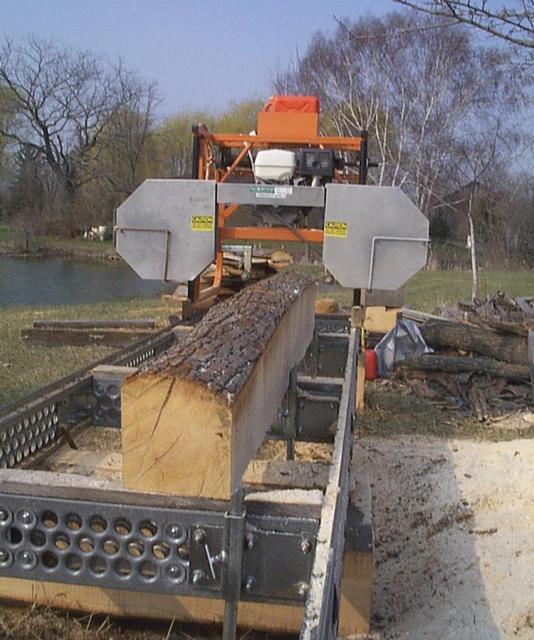
This is a bass wood log. In this picture I'm sawing off the last slab.
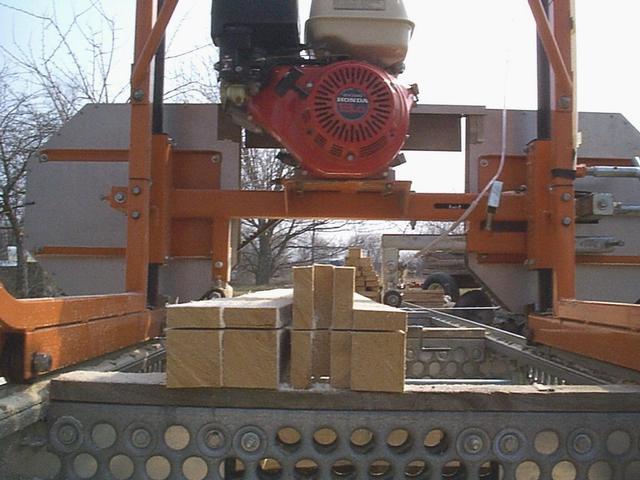
I'm sawing bass wood 1x3's here. See how narrow the kerf is when using a band saw (about 1/32")? For each 1/32" of kerf, you loose 2% of lumber out of the log to sawdust. Circular saw blades, and chain saw chains make up to about 9/32" kerf. It's easy to see the huge savings of a band saw!! The engine is a 13 HP Honda, and it does a very good job.
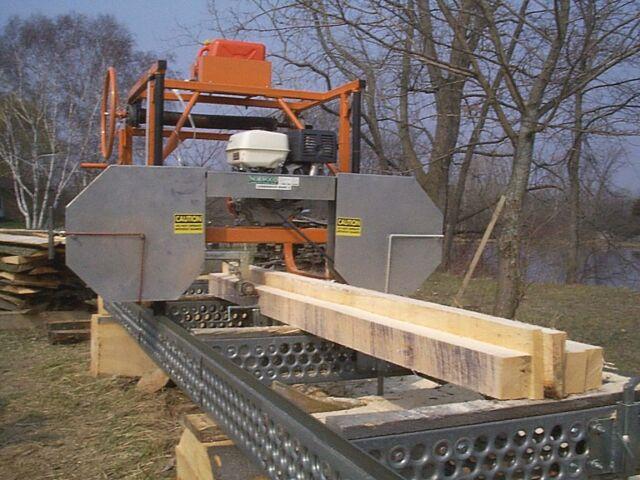
Stacking several boards together, and resawing them all at once is a real time saver. This is also the best method for edging flitches on the saw mill.
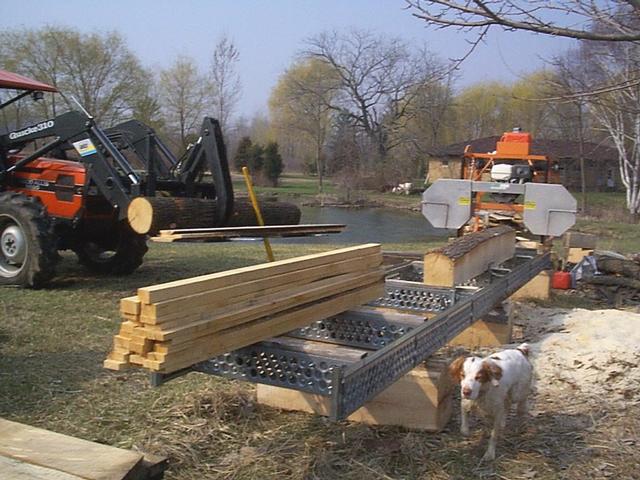
Here're three bass wood logs. One is already sawn, there's another one being sawn, and still another on the forks. Even my "saw mill dog" has to get in on the action!
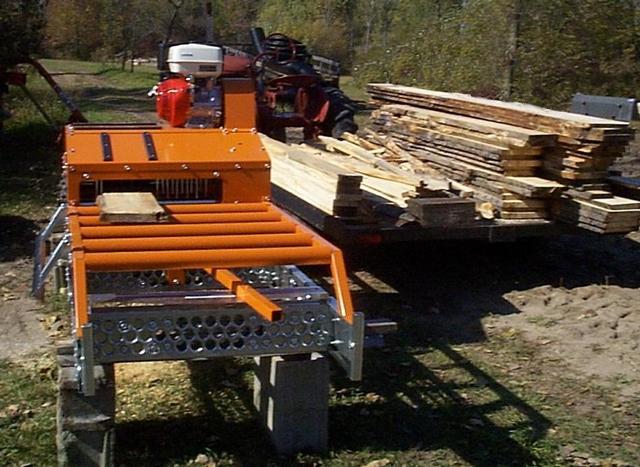
When I'm sawing construction lumber, I run the flitches through my edger to the width of lumber I want. This makes sawing much faster and easier!! I'm making 2x6's here.
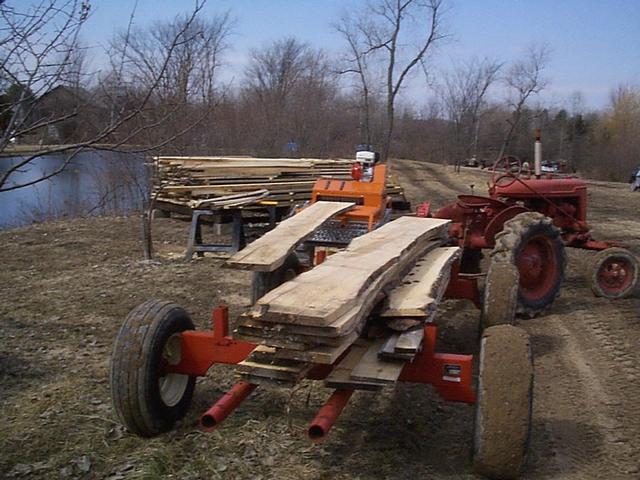
Here's some of the flitches from the bigger beech log shown in picture #3 above.
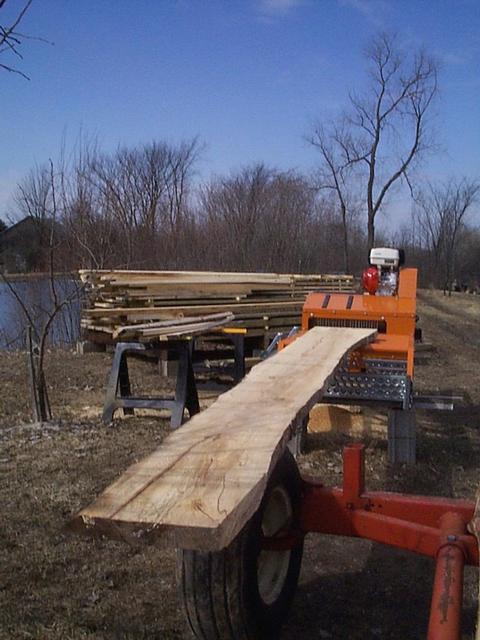
This one beech flitch made (2) 2x6's, and (1) 2x2, all over 16' long.
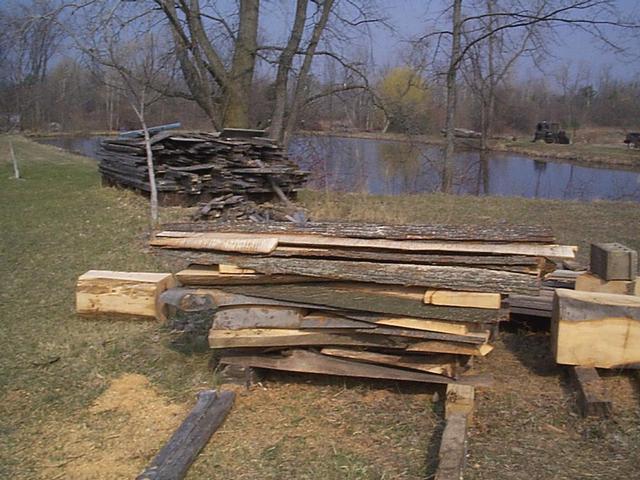
I pile my slab wood on bunks. That way I can easily pick the piles up with my tractor and move them to where they will be sawn into firewood.
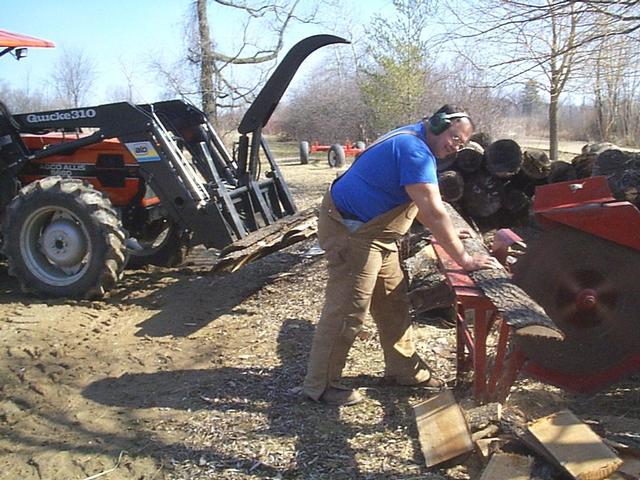
The piled slabs are moved into position, and cut into 16 inch lengths. Here I am sawing them up, useing a PTO powered "buzz saw". I use the wood to heat my shop in the colder months.
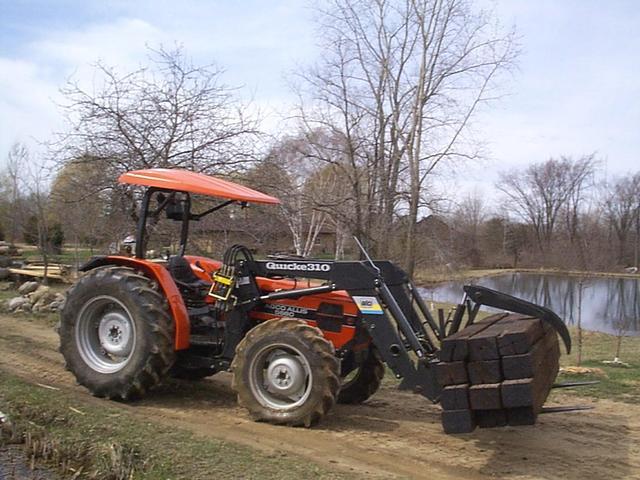
I like to pile my lumber to air dry on railroad ties. Around here they can be bought fairly cheap, and the bugs won't eat them when they are put on the ground for long periods of time.
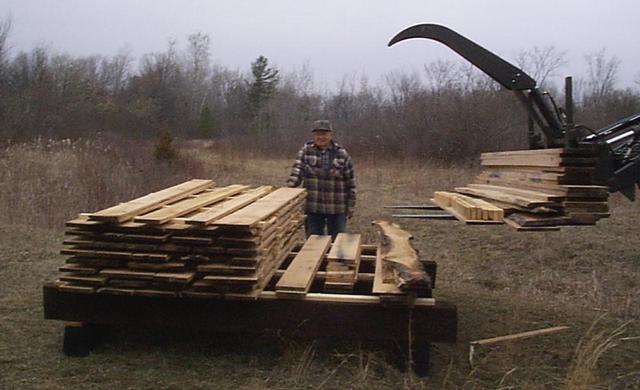
My dad turned 88 this year. He still gives me a hand from time to time getting the boards stacked on stickers. Most of this red oak is quarter sawn, and will be made into fine furniture. First it needs to be stacked outdoors to air dry for about a year, and then I'll move it into my heated shop for a couple more months. After that it should be dry enough to use. These are one inch thick boards; thicker lumber takes even longer to air dry.
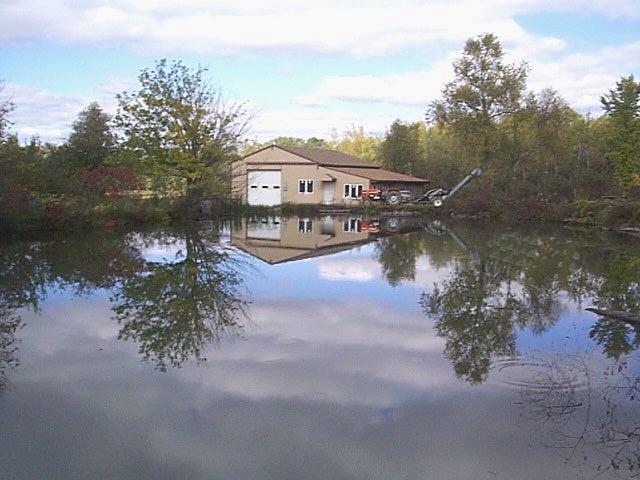
Here's a picture of my shop. It's now 40' x 46', but I'm adding 20 more feet on the back side this summer.
AI enhanced answer (added Jan 14, 2025):Milling lumber from logs involves several key steps to ensure quality and efficiency:
1.
Log Selection: Choose logs that are straight, free from major defects, and of the desired species. Freshly cut logs are preferable to avoid checking and splitting.
2.
Preparation: Allow logs to sit for a short period to reduce sap content, which can gum up saw blades. However, don't let them dry out too much to prevent cracking.
3.
Equipment: Use a portable sawmill or a stationary mill. Ensure your saw blades are sharp; dull blades can burn the wood or cause unnecessary waste.
4.
Milling Process:
-
Quarter Sawing: Cuts the log into quarters and then into boards. This method reduces warping and enhances stability but yields less lumber.
-
Plain Sawing: Slices the log through and through, maximizing yield but can result in more warping.
-
Rift Sawing: Similar to quarter sawing but at a slight angle to minimize the figure in the wood.
5.
Drying: After milling, lumber needs to be dried. Air drying is traditional but slow; kiln drying is faster but requires careful control to avoid over-drying or case hardening.
6.
Storage: Store milled lumber in a way that allows air circulation to prevent mold and mildew. Use stickers (small pieces of wood) between layers to promote even drying.
7.
Safety: Always wear protective gear, and ensure the mill is on stable ground to prevent accidents.
Remember, the quality of your lumber directly affects the final woodworking project, so patience and precision in milling are crucial.


