Setting Up a Boring Machine to Make Shorter Pockets
Tips on using shims to tweak the configuration of pocket holes produced by a boring machine. November 29, 2014
Question
We have the Castle machine in the pics below. I'm trying to set it up so it does normal pocket boring and does a pocket in cleats that are 2-1/4" and don�t come out the long edge. I have messed with the set screws, moved the plate, etc. and it does raise the router bit because I put a piece of 1/4" under the board to be pocket routed but the drill bit is still too low. I raised it as high as I could and it�s still too low. What else is there left to adjust? If you have this model and you're trying to do the same thing I am. What hole in the metal plate on the inside is yours set to and what am I doing incorrect? Maybe it�s not as simple as putting a piece of 1/4" under it. I also want to pocket screw the 3/4" front and back of our drawer boxes into the 1/2" sides. I realize for that I�ll probably need to use 1" pocket screws.

Click here for higher quality, full size image
Click here for higher quality, full size image
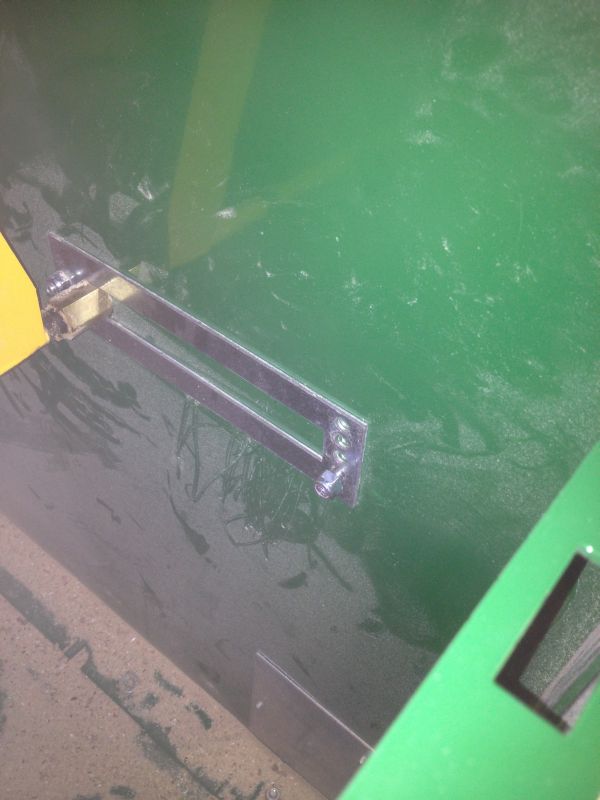
Click here for higher quality, full size image
Forum Responses
(Cabinetmaking Forum)
From Contributor U:
Have you followed the instructions form the Castle website? Just pick the manual based upon the serial number and model you have. The manual explains everything in good detail and it could be the drill bit is mounted too far in the spindle.
From contributor H:
The machine is built to pocket 3/4" material, set it up and get that working first before you start making adjustments for something different. I have pocket drilled 1/2" material. I didn't think it made a very good joint so scraped the idea. 5/8" material is much easier to do.
From contributor V:
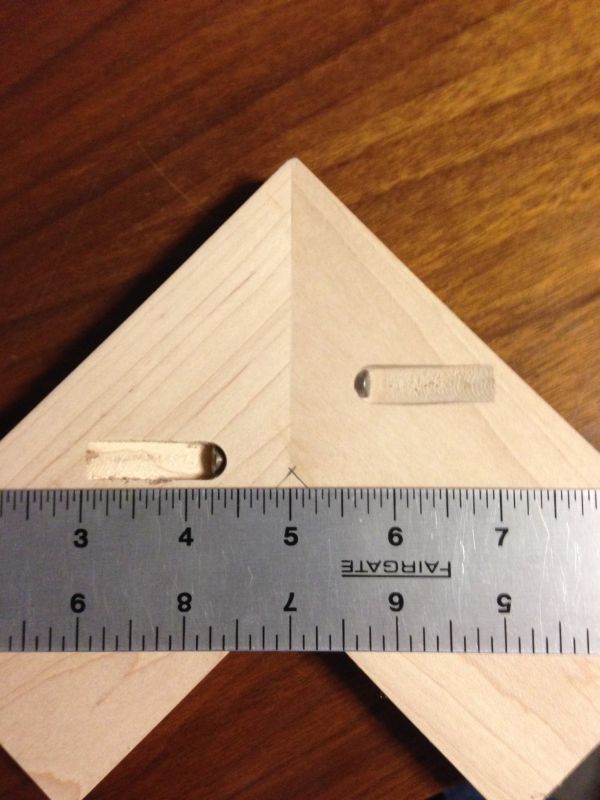
I don't think that you can do what you are looking to accomplish with the settings on the machine. You can, however, tilt the material with a shim on the table to get a shorter pocket length (Kreg has the advantage here), but the pilot hole angle will be much steeper. An auxiliary table would be great if you are looking to do this often. The pockets in the attached picture are 2" long and were made with your machine. The total length from the edge of the stock to the end of the pockets is 2". The stock was placed in the machine at an angle rather than flat on the table.
Click here for higher quality, full size image
From contributor V:
I currently use 3/4" material for front and backs of drawers. Side and bottom material is 1/2". With my setup I use 1-1/4" screws for all fastening. 1/2" material is pocketed with a sheet of horizontal grade laminate or 1/8" hardboard on the machine table, depending upon where you want your hole to end up. 3/4" edge to 3/4" face fastening is done with 1-1/2" screws as are faceframes.
From the original questioner
To contributor V: Thanks! Would you be able to post a pic of your shim table you used to accomplish that? On the metal bar with the about four holes, which hole are you in?
From contributor V:
I do it so infrequently that I just tape a piece of material to the table, spaced out evenly from the fence, which will hold the work piece at an angle that will work. I don�t see why you couldn�t do the same with your cleats except I would make it easy to remove and replace when necessary. My metal bar has five holes and I am using the center one. I have moved it in the past, but I think that this was the factory setting.
From the original questioner
I taped two pieces of 1/4" thick material to the tabletop, which tipped the piece at an angle that was perfect.
From contributor V:
Your welcome! I'm glad that this worked out for you. The castle machine is a wonderful tool that you will find lots of uses for.