Question
I have a project where I need to wrap quarter-slice sapele (ribbon-mahogany) over the front edge of a counter top. The substrate is Extira and is 1.5" thick. I milled a bull-nose profile on the front by routing it with a 3/4" roundover bit on both top and bottom. The resulting profile is a 1.5" semi-circle. The grain runs with the edge of the counter, as the veneer definitely bends this way the best.
During a trial dry run of a small sample, the veneer readily cracked along the grain. I fully expected this, being quarter-sliced. So, to prevent splitting I added gum tape to the show face. Now I can bend it without the veneer cracking and splitting. The small sample could be formed around the 1.5" diameter without problem.
Now, the actual counter is almost 4' wide. The piece of veneer that bends is also almost 48". During a dry run it seemed that it would be ok, but I really would like if the veneer were a bit more flexible. The entire show face has 2" wide gum tape applied to keep existing joints together, and prevent new splits.
My question is: how can I make the veneer a little more flexible? I thought of giving it a light spraying with "Veneer Softener" just before I bend it over the glued substrate. But, will the veneer softener loosen the gum tape, thereby causing a disaster? Or, will the veneer softener react with the urea resin glue (they would both be on the same side of the veneer) and prevent the glue from working?
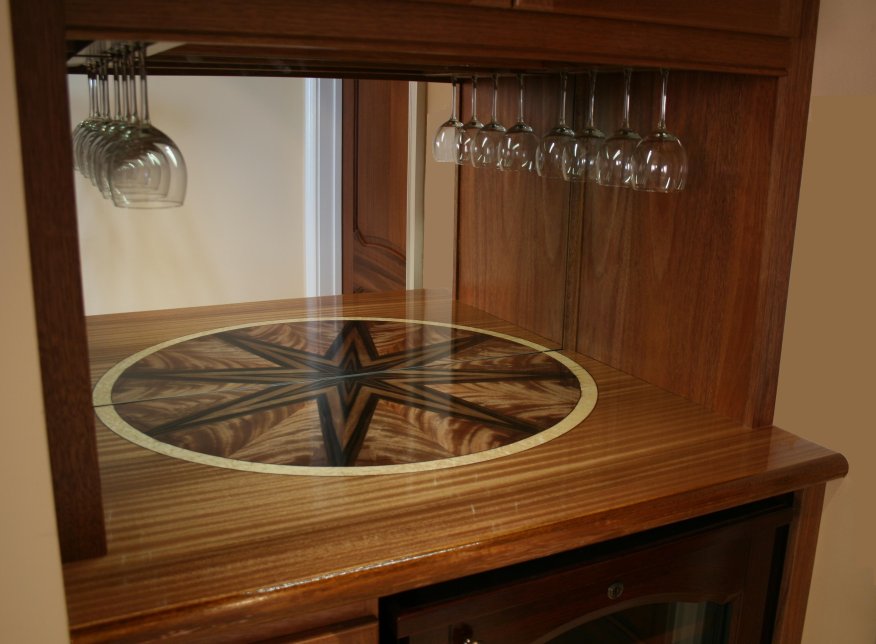
Or, am I just being paranoid after spending days assembling the decorative veneer pattern that is part of this counter? Also, will the sapele wrap around fine? Note that the pattern does not wrap around the bull-nose. The pattern is up on the flat area, and about 8" away from the curved edge.
Forum Responses
(Veneer Forum)
From contributor V:
I did a very similar project with zebrano a few years ago. My grain was running perpendicular to the grain however, like you are thinking, I sprayed it with GF-20, but I let it just about completely dry before I applied a PVA and used an iron to adhere the veneer to the table edge. It worked great. You should have no trouble. Instead of spraying the veneer softener, wet a rag and wipe the veneer.
Contributor C - I have a 5x10 flip-top table. There will be a caul involved and the brass brush is great. I have had blue tape on veneer go through the vacuum press (while drying veneer), and have had a very hard time getting it off. On purpose, it was only on a scrap area. The adhesive soaked into the veneer.
I am not overly surprised by this, since 2090 blue tape has a fair amount of stretch. However, I did use 3" blue tape successfully as a "hinge" on the back edge of the counter substrate to perfectly align the pattern. And, "pulling" the veneer over the front edge helped to keep that alignment from shifting. So, that was a major success. By the way, I did not see any blue tape that said "60 day" on it. I did see a "delicate" tape. Do you happen to have the part number handy?
I had one other process that worked well last time I used it but might not have worked for you. I made a two ply of my face veneer and a backer veneer pressed flat and glued with Unibond. While the Unibond was partly cured (flexible but not hard) I wrapped the two ply over the edge and glued it down in the press with the neoprene cauls. The two ply process helped bridge any gaps and was moist and flexible. It was a nerve wracking process though, a bit late on getting it wrapped and you have a nice hard flat panel with not bullnose. The blue tape I use I think is #2080, I will check and let you know if it is different. The interior cardboard wrapper is orange. Post a picture when you have this done, I�d love to see the rest of the panel.