UV Finishing of Wood Mouldings
Brief Overview
Step 1: Profile sanding
Wood mouldings in the whitewood may or may not require profile sanding prior to finishing. The decision to profile sand is dictated by quality off the moulder, the finishing protocol, and the customer�s expectations.
The profile sander head arrangement will be determined by the substrate and milling. A combination of belts and wheels is best suited to profile sand in order to remove knife marks while a light denibbing may require only flap wheels. Machine configuration should be determined by reviewing the range of mouldings being sanded and the quality requirements.
Step 2: Staining
Staining is typically water base for UV and requires a single coat. It is most desirable to stain and dry without wiping the stain however, some companies prefer the wiped look.
Stain is applied in one of two methods (spray or vacuum) and then must dried by IR or convection oven or racked for a specified period. The two most common machines for staining are:
Moulding sprayer: This method offers maximum set up flexibility without making templates but has the disadvantage of up to 40% waste in overspray and greater maintenance required on the spray guns.
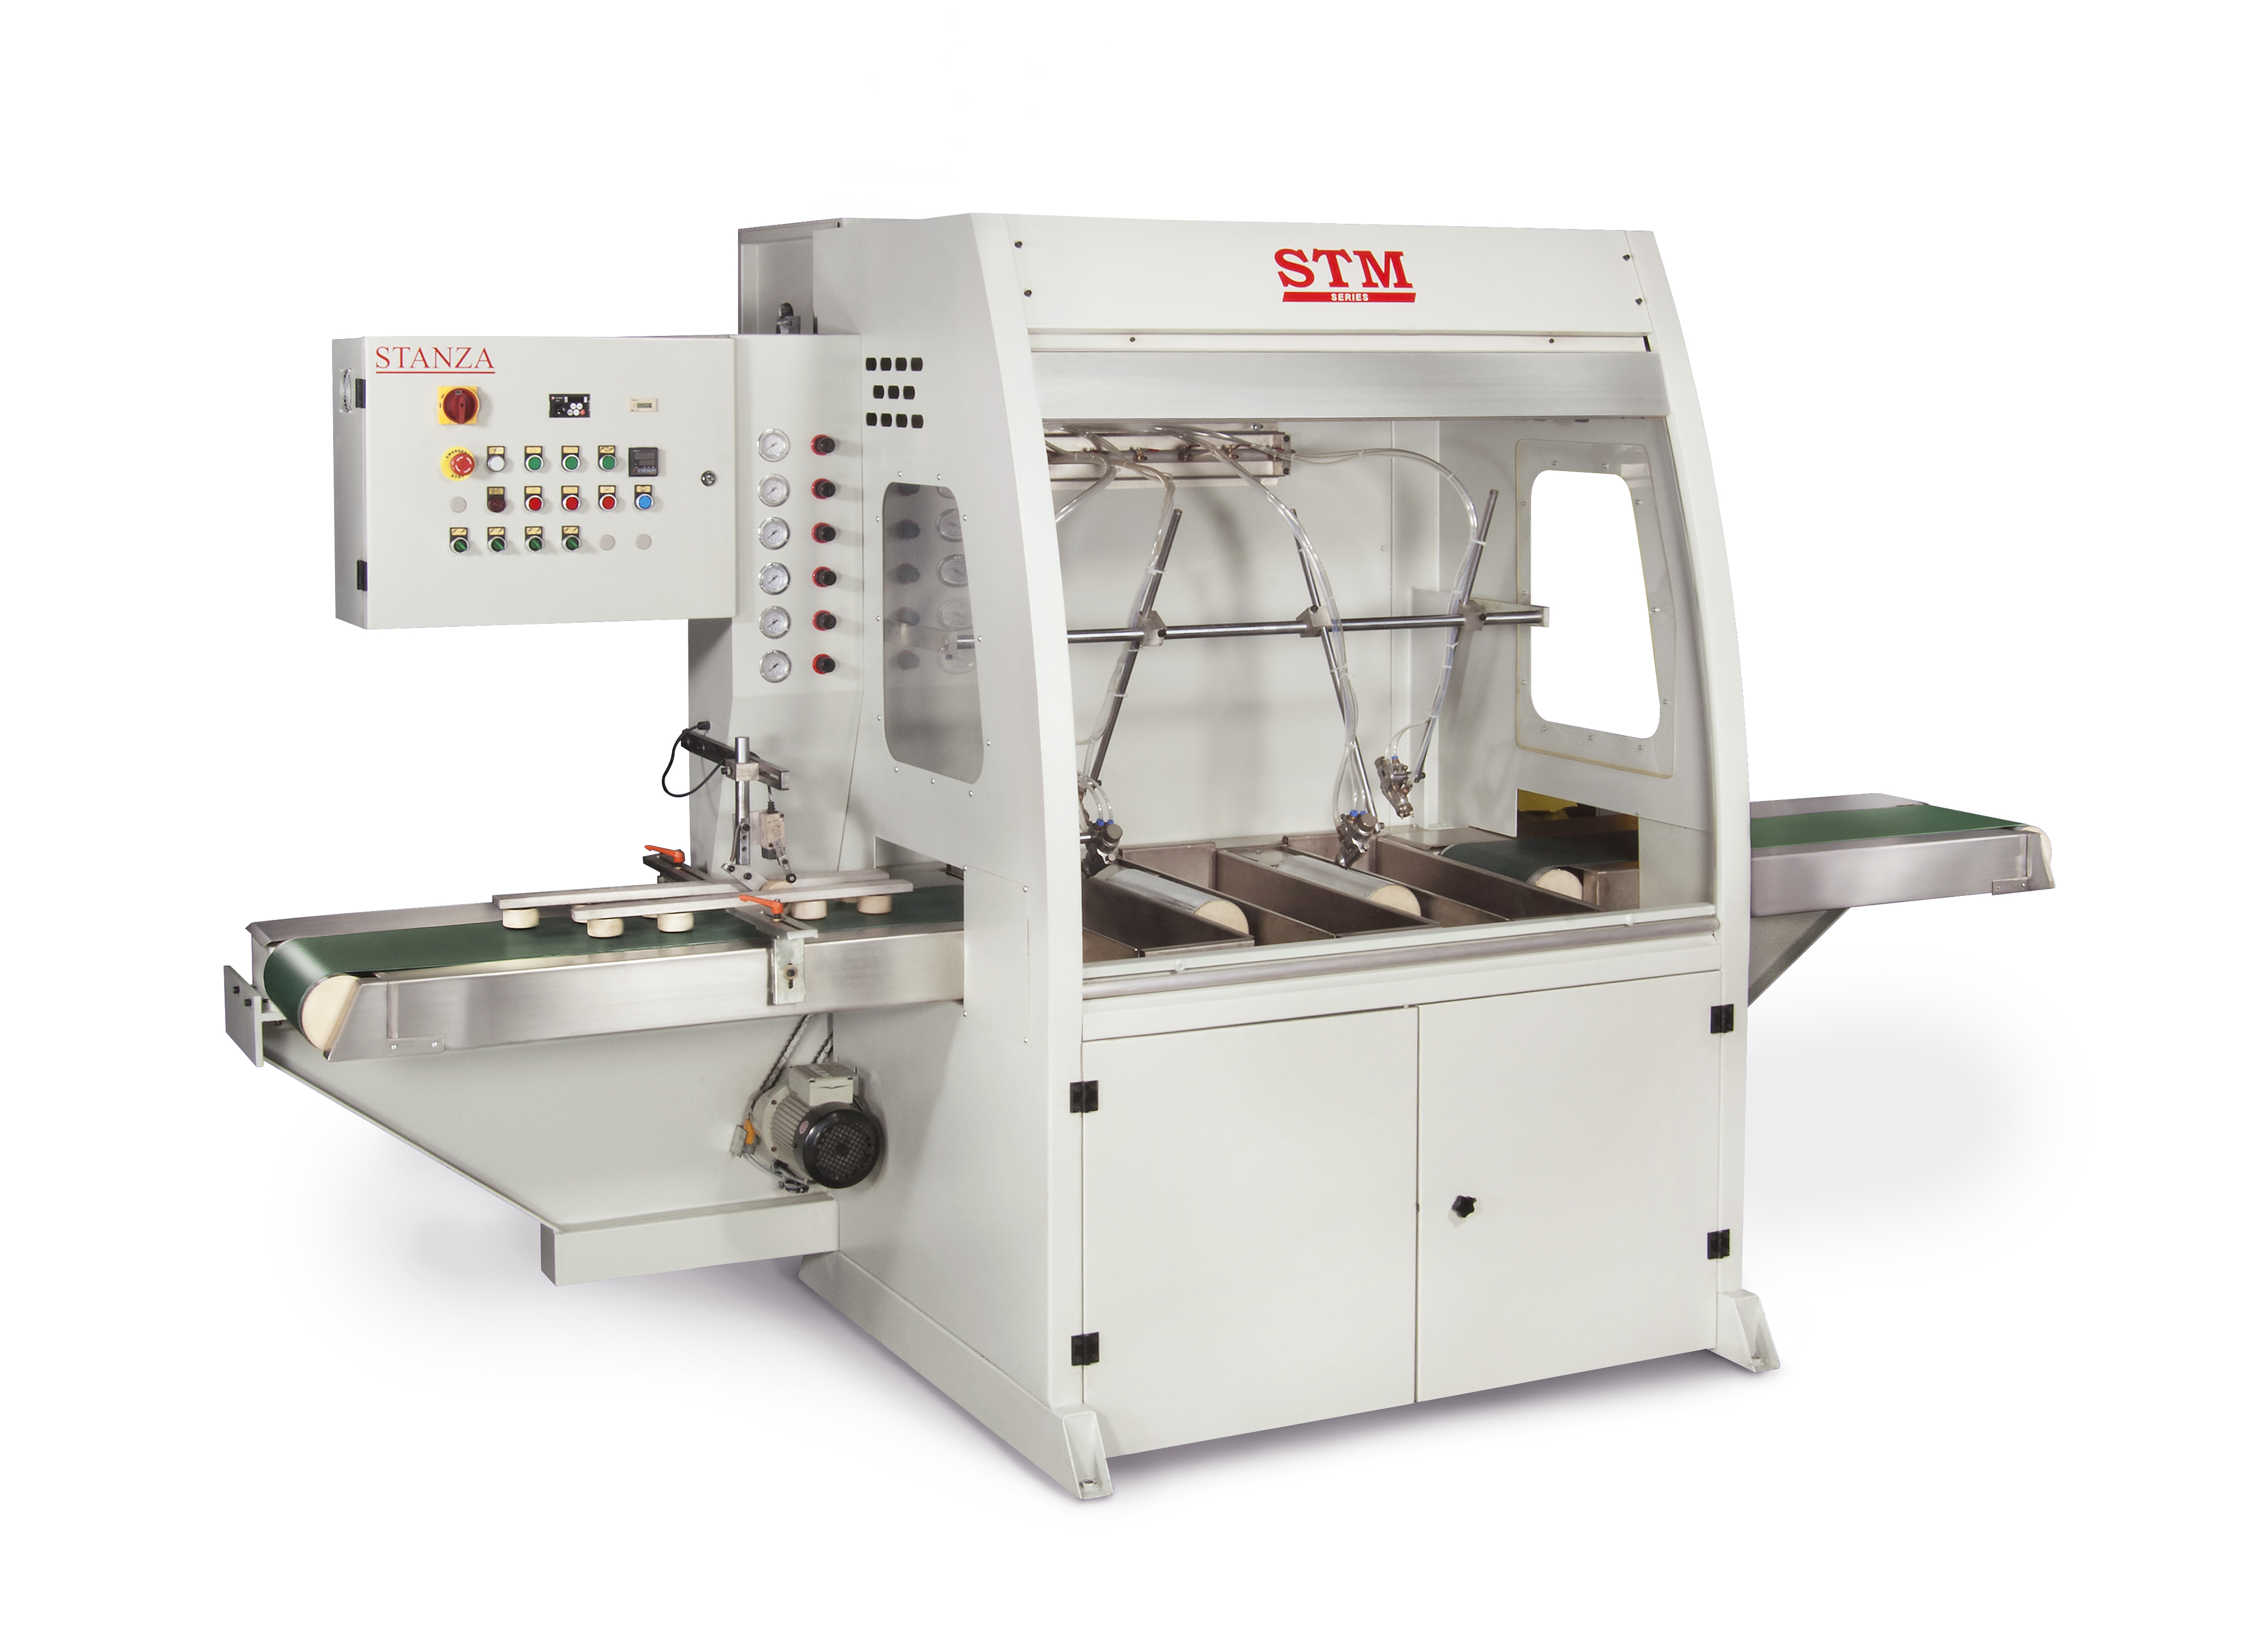
Vacuum coater: This method is very advantageous for longer runs and for near 100% transfer efficiency and 4 sided finishing. However, templates must be made for each profile and changing color requires cleaning the machine. The vacuum coater can produce a more uniform water stain job and requires less drying after the stain is applied. UV stains are possible in certain circumstances.
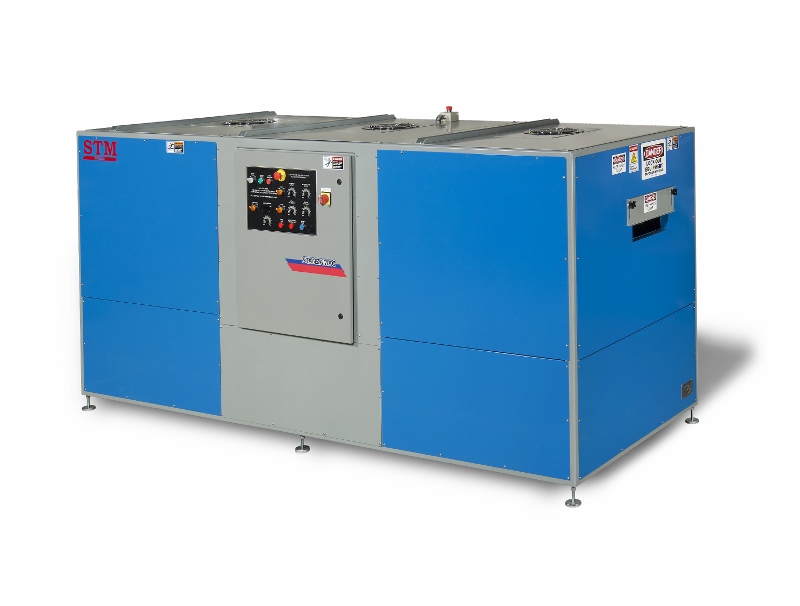
Step 3: Clear Coats
Standard mouldings typically get 2 clear coats of 100% solids UV material with a denibb sand in between. The UV material is a self seal coat and acts as both a sealer and a topcoat. UV coatings can also be sprayed or vacuum coated. However, vacuum coating has some major advantages when working with UV and we prefer the vacuum process for clear coats when possible.
Vacuum coaters can apply coating to 4 sides simultaneously and the system is closed resulting in high transfer efficiency. Conversely, spray systems finish 3 sides and transfer efficiency is significantly lower due to the difficulty in recovering the UV once it is atomized in the spray process. There can also be difficulty in spraying 100% solids UV that may require the addition of solvents. Thus, detracting from the environmentally friendly aspects of UV.
Vacuum coater setup requires fabricating templates for each profile but the machine setup time is short and typically the machines do not require cleaning each day. After the first coat of UV is applied the moulding will pass through a UV cure oven. The number of lamps determines the line speed : 3 lamp/50-60fpm --- 7 lamp/100-120fpm.
Following the first coat the workpiece surface must be denibbed to smooth the raised grain and prepare the surface to hold the second coat. The second coat of UV is applied on the same machine and the mouldings are ready to pack upon exiting the cure oven. Combination machines that include vacuum coater, cure oven and denibber are most popular. Additionally, UV colors can be applied with a vacuum coater if the oven is fitted with gallium bulbs and specially formulated paint.
Mike DeSarno
Stanza Machinery
Charlotte, NC