You are not logged in. [ Login ] Why log in 
(NOTE: Login is not required to post)
|
|
|
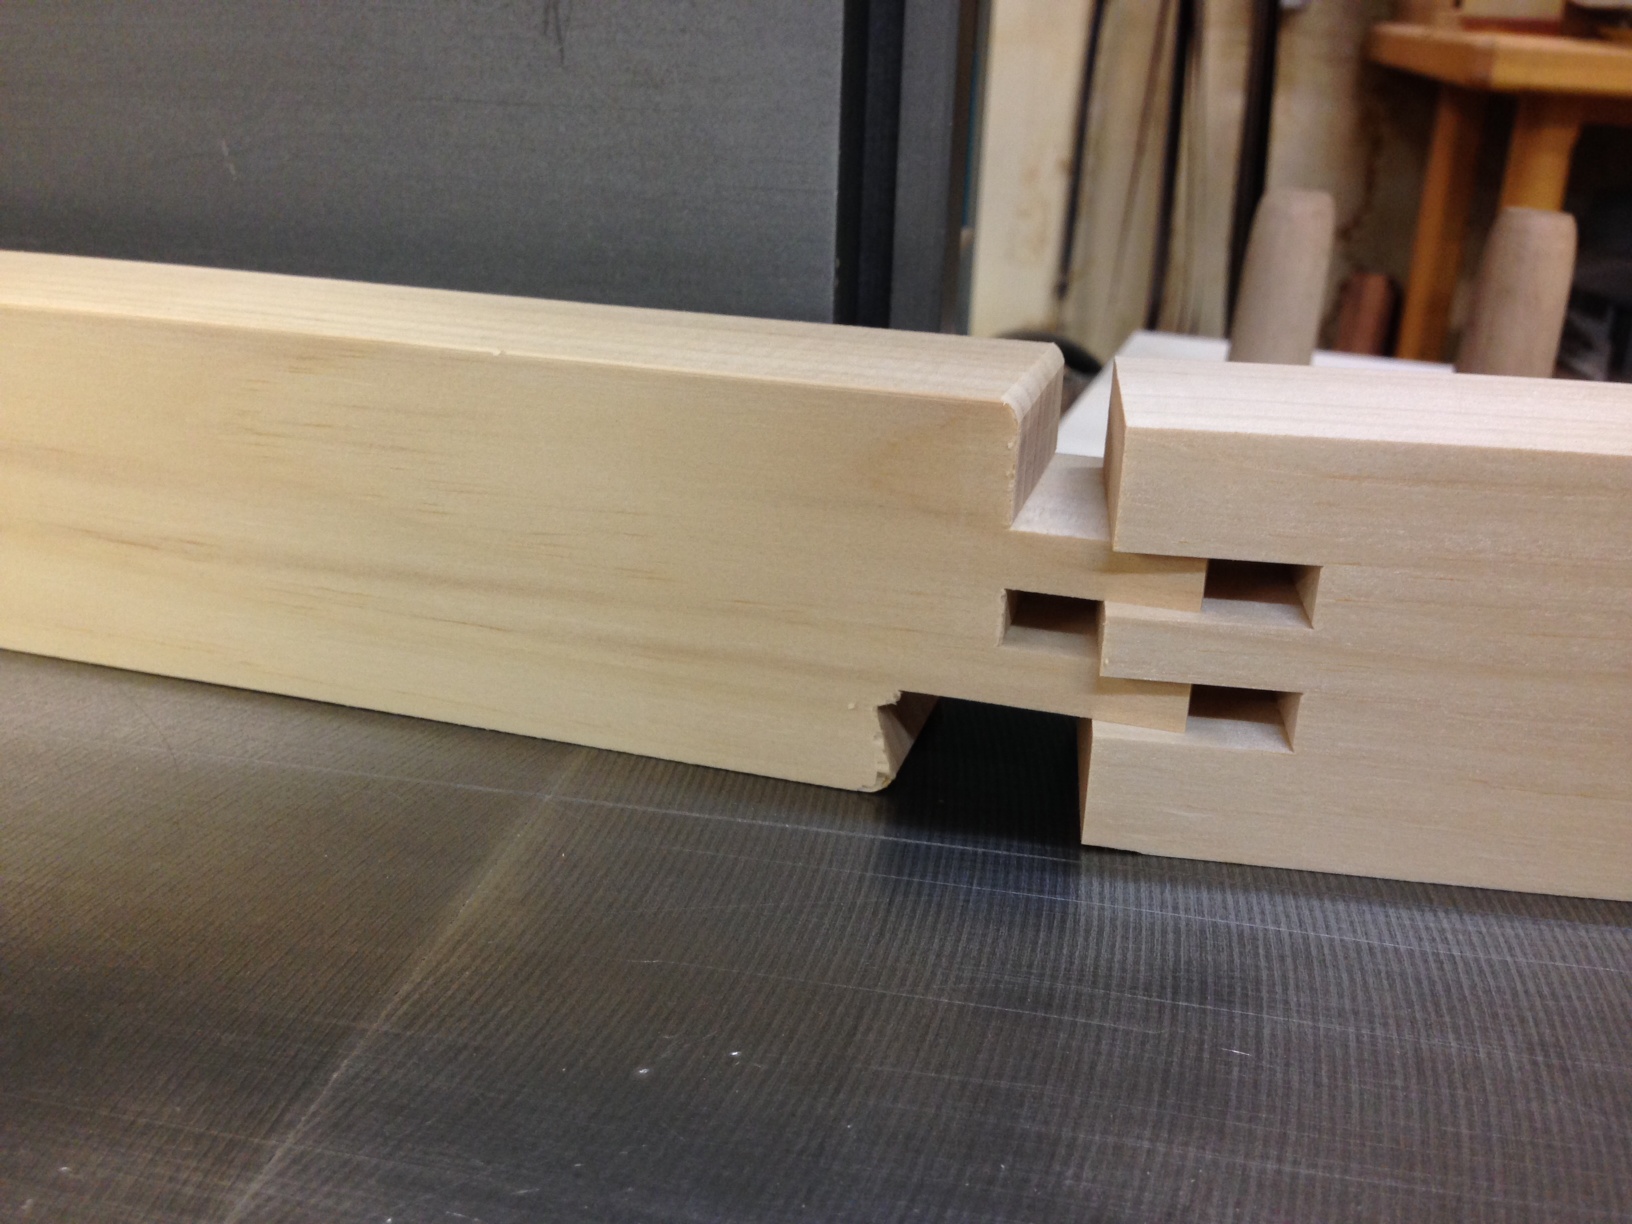
View higher quality, full size image (640 X 480)
View higher quality, full size image (480 X 640)
|
|
|
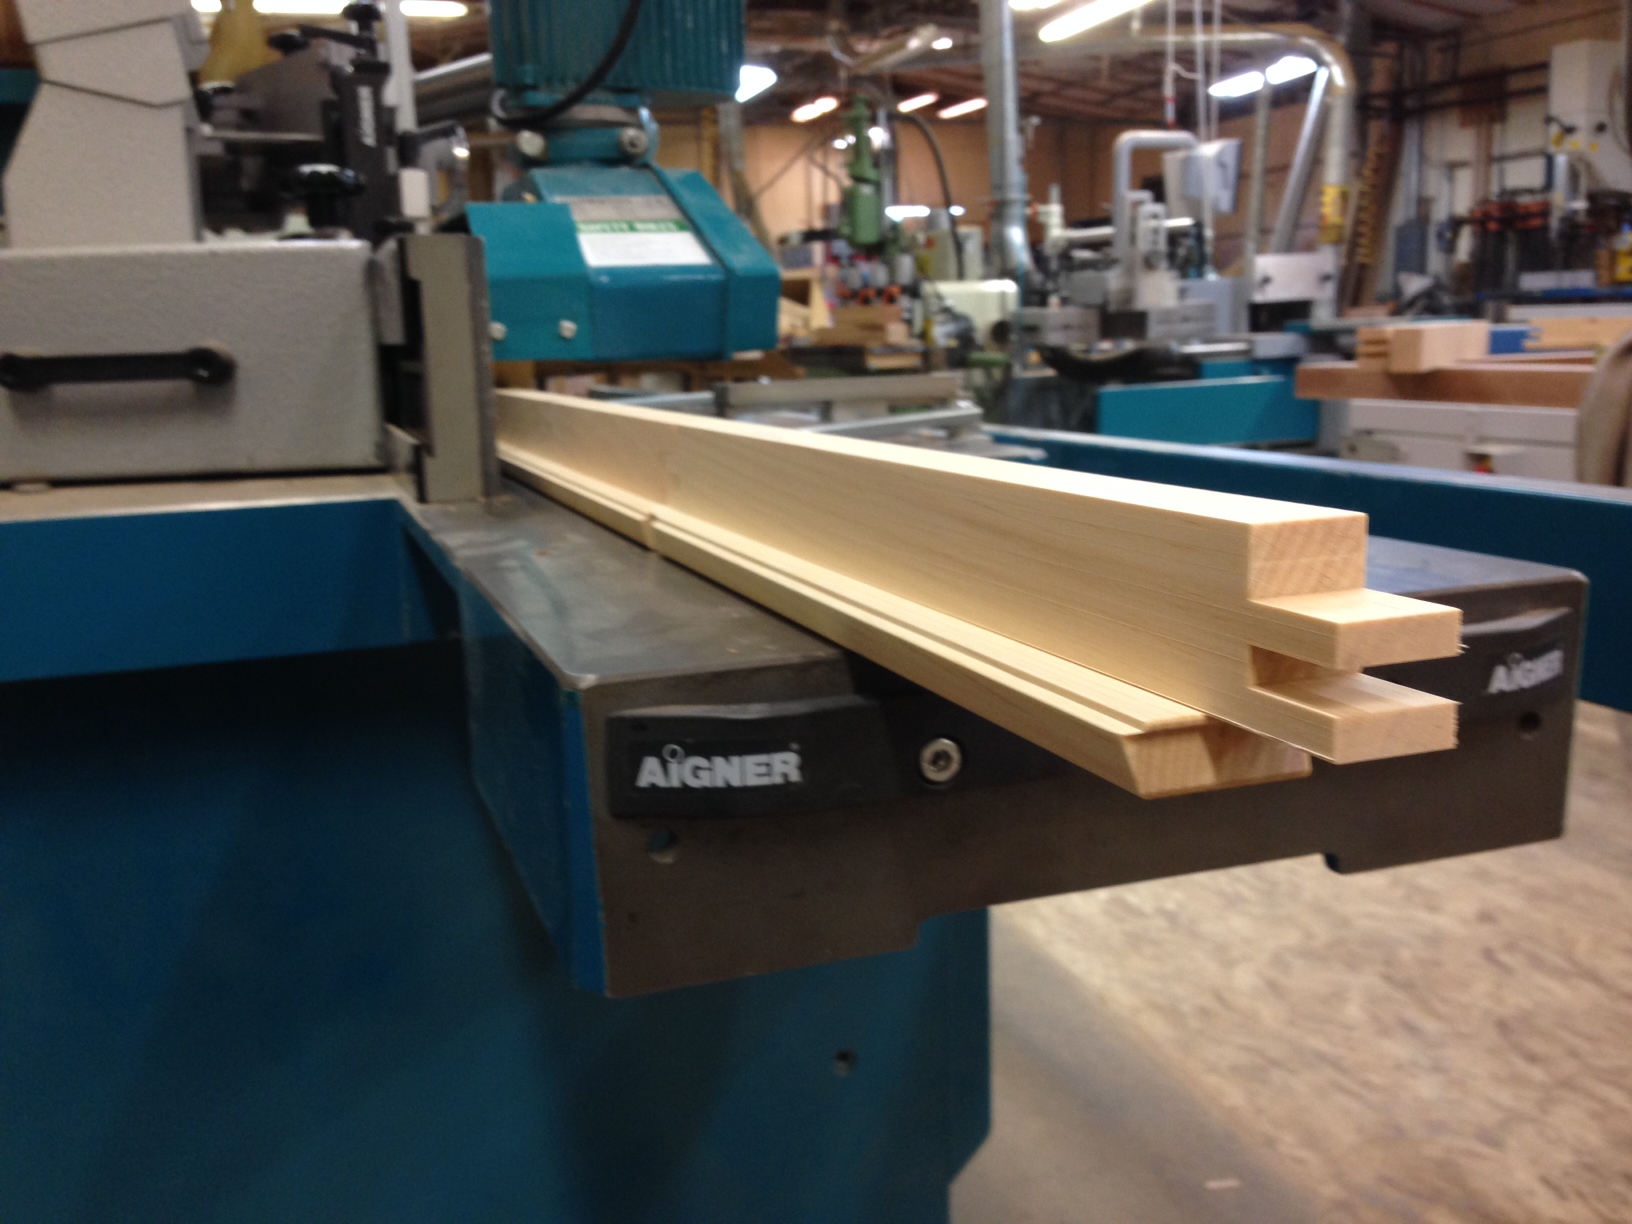
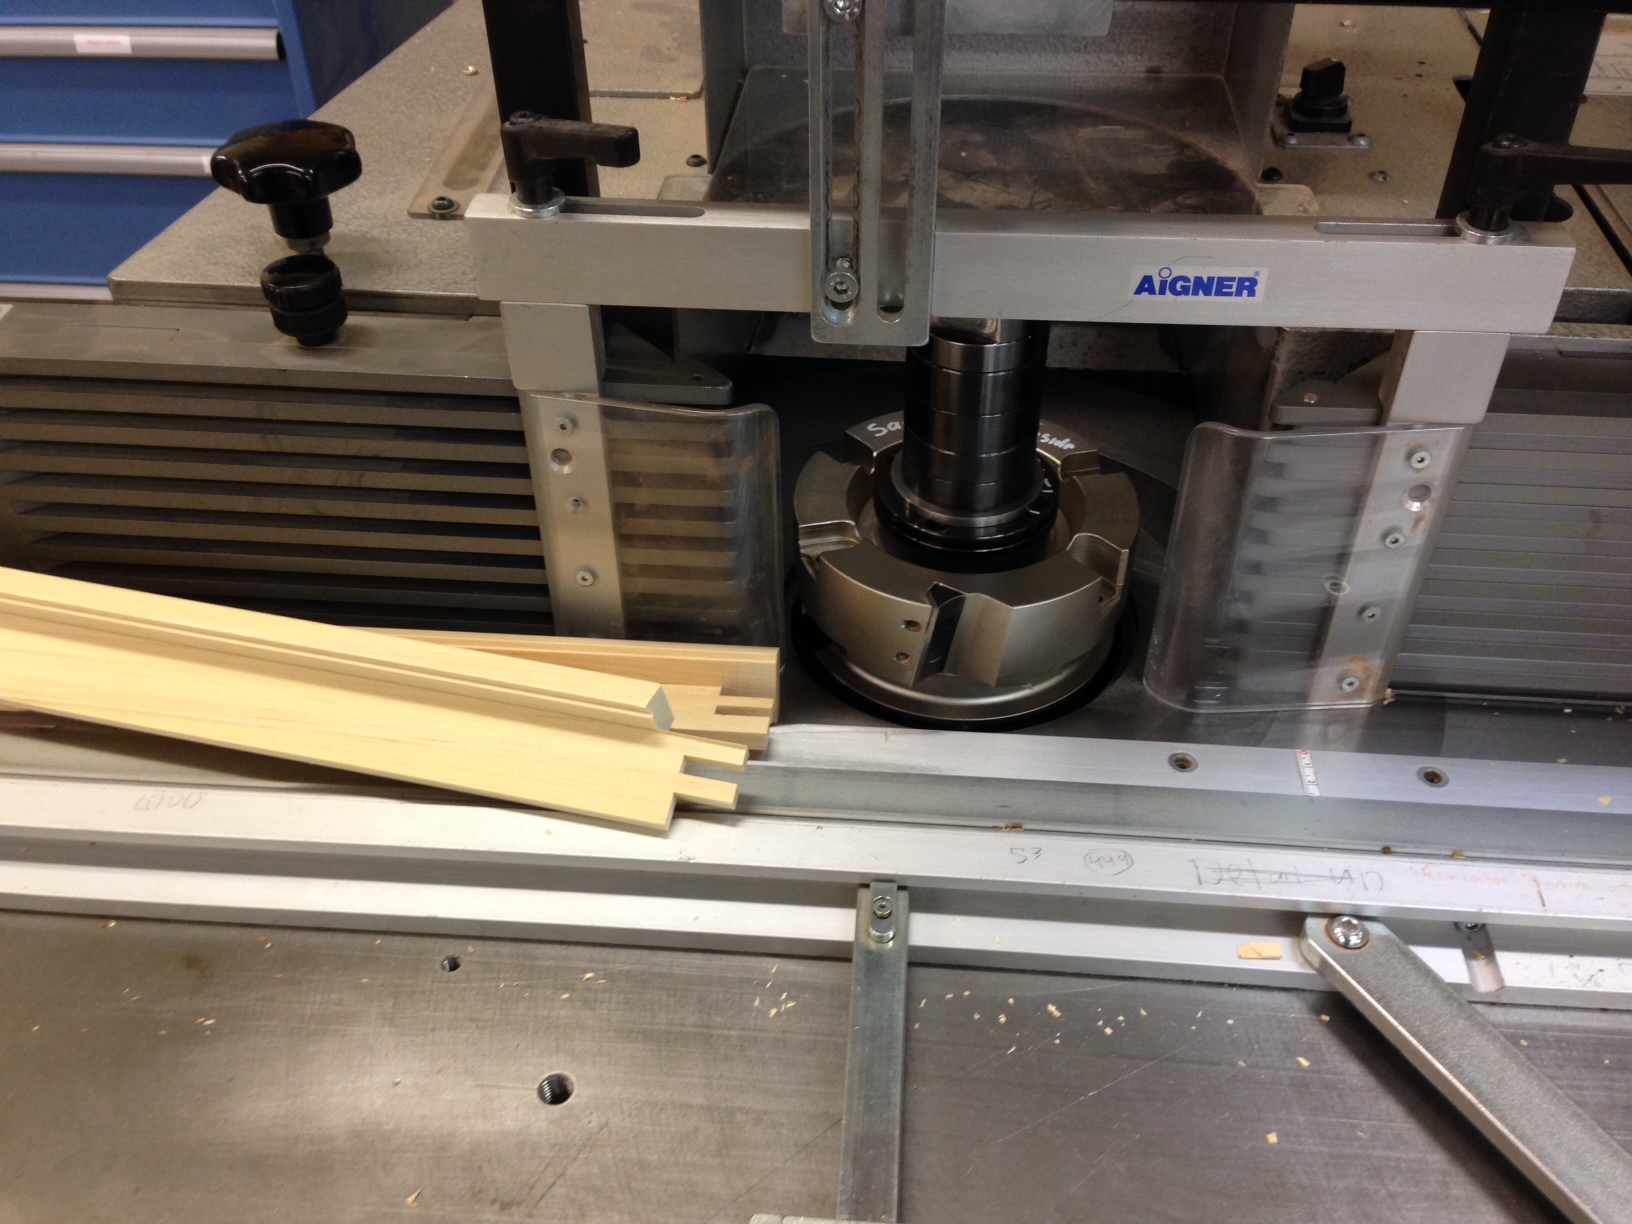
View higher quality, full size image (1632 X 1224)
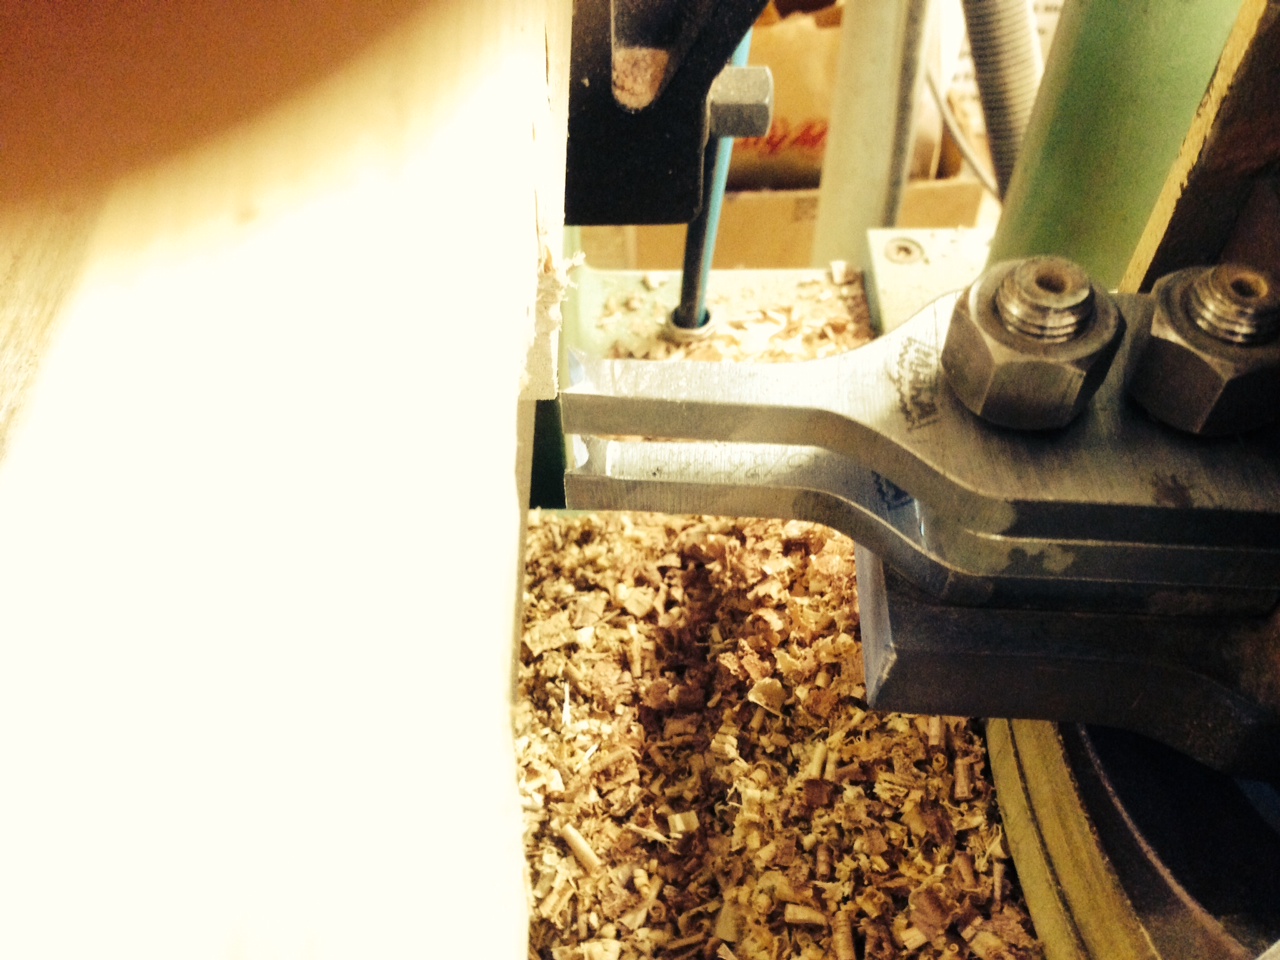
View higher quality, full size image (1632 X 1224)
View higher quality, full size image (1632 X 1224)
|
|
|
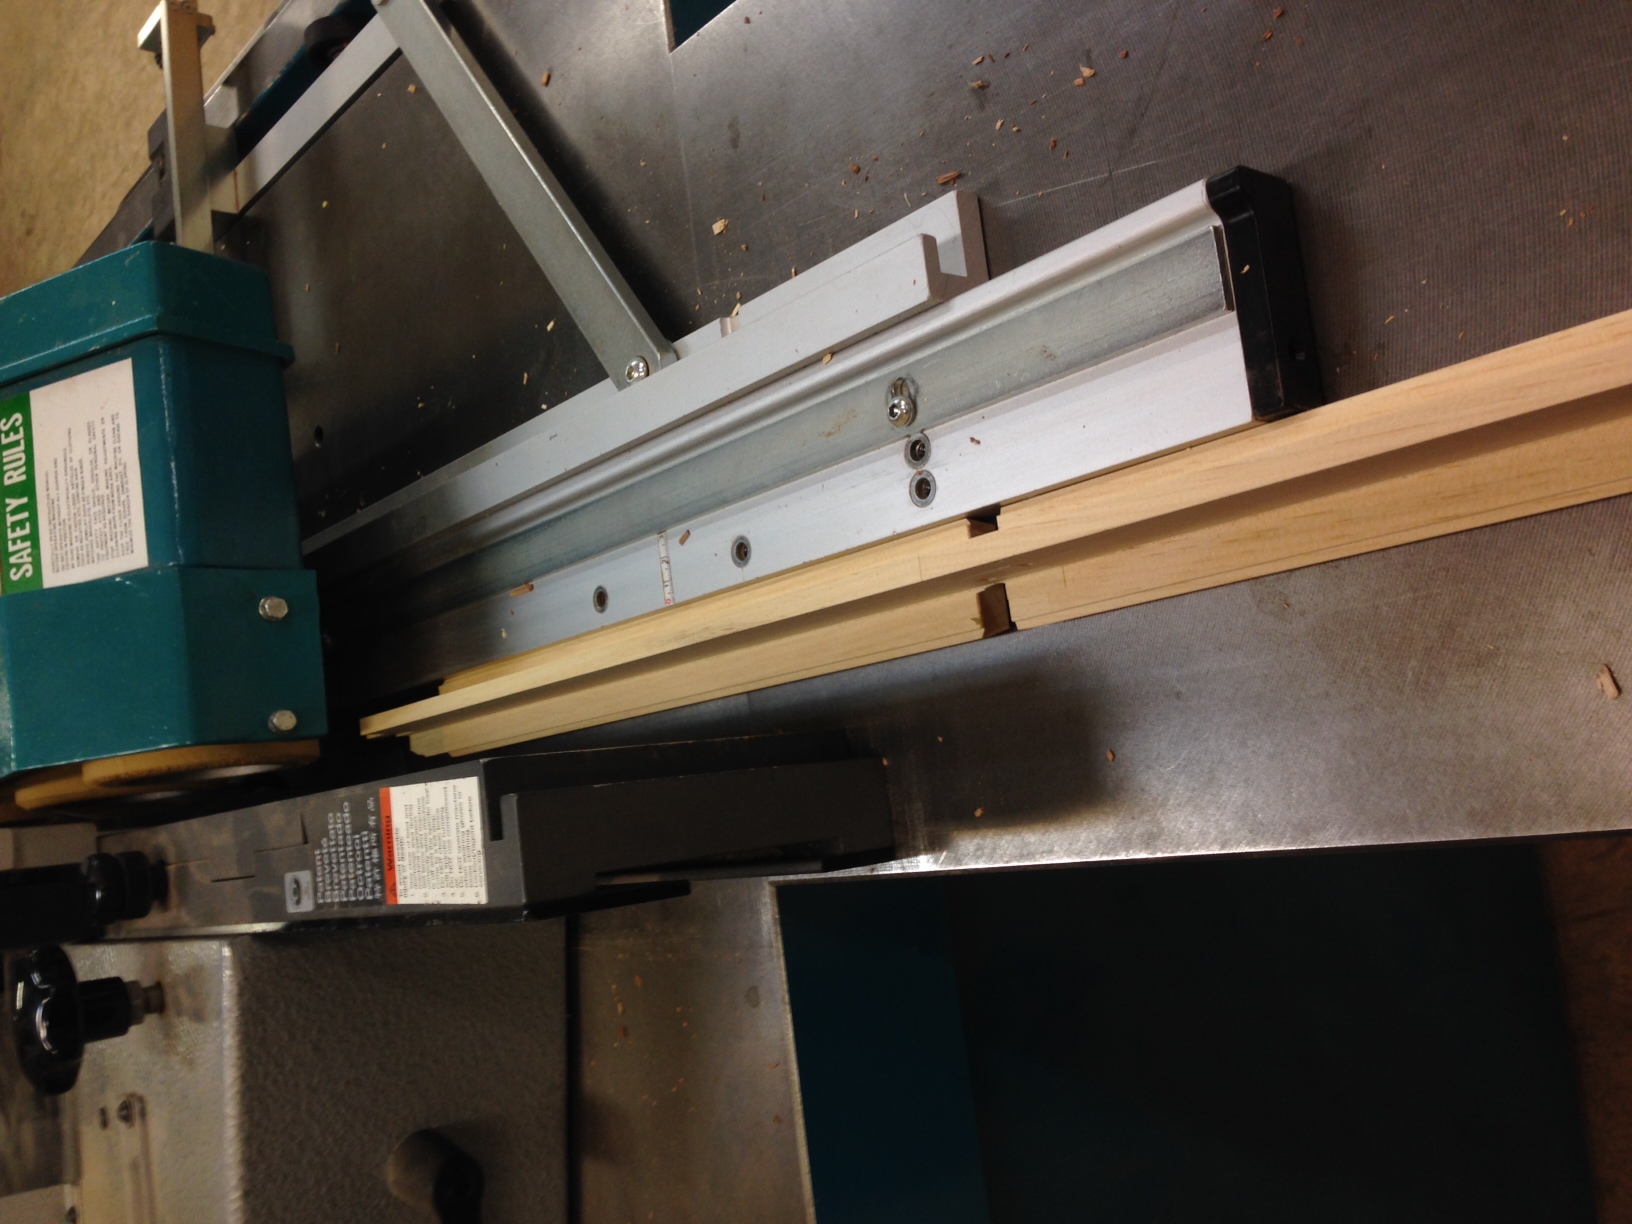
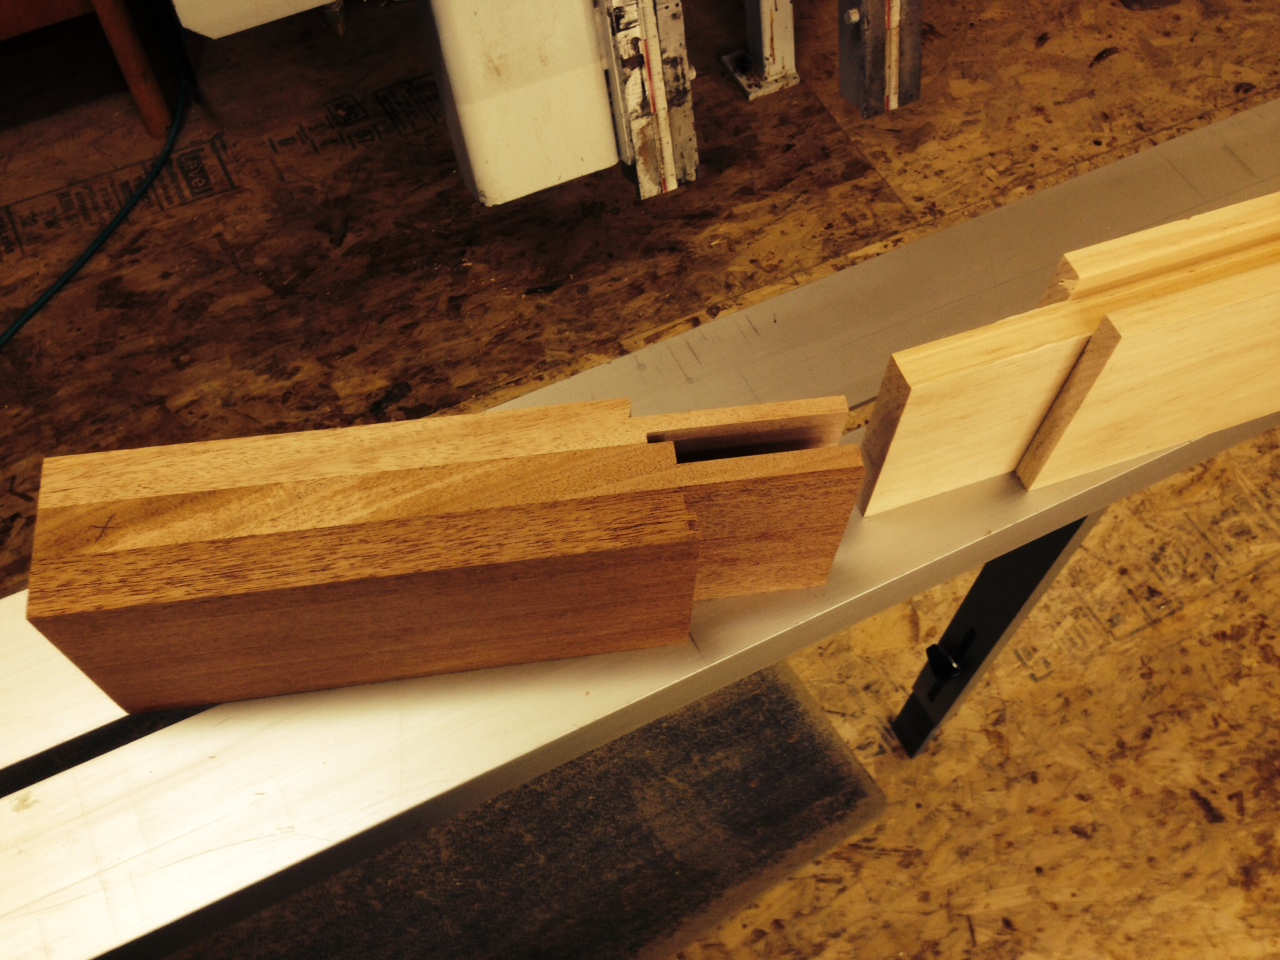
View higher quality, full size image (1224 X 1632)
View higher quality, full size image (1632 X 1224)

View higher quality, full size image (1224 X 1632)
|
|
|
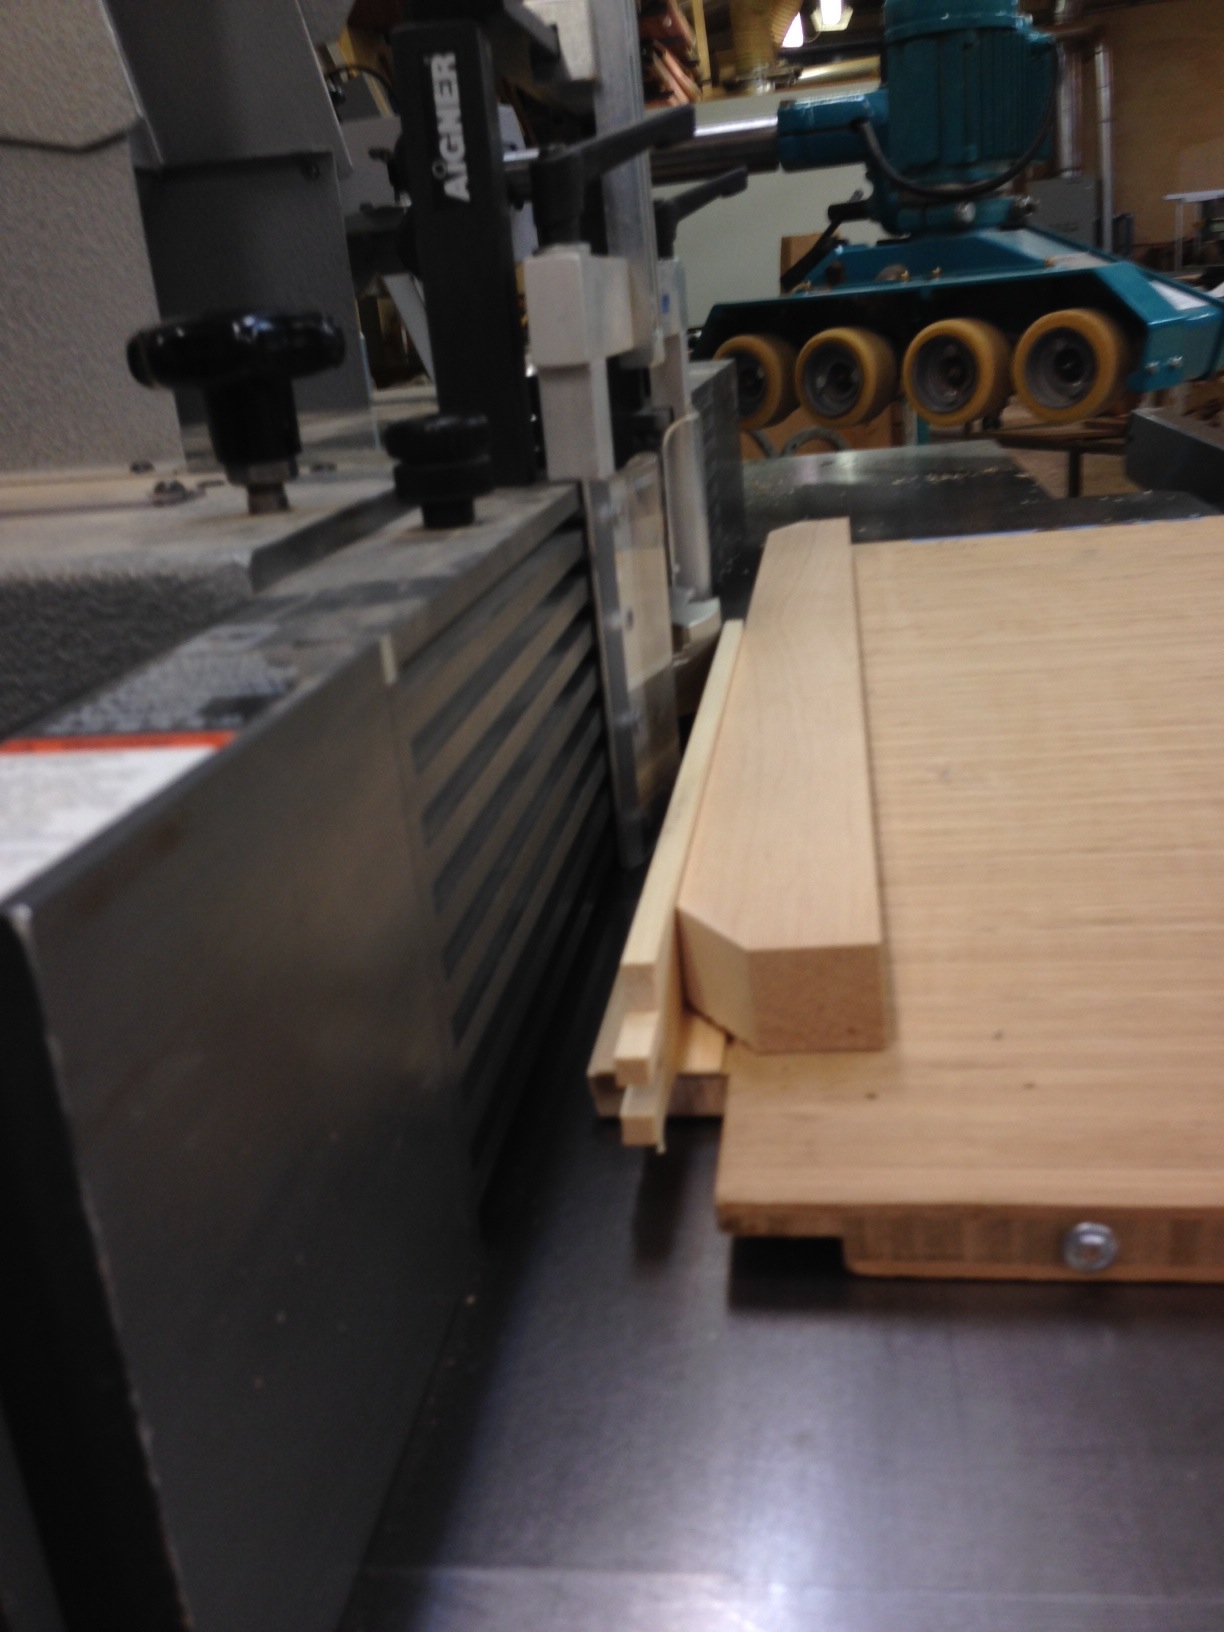
View higher quality, full size image (1280 X 960)

View higher quality, full size image (1280 X 960)
View higher quality, full size image (1280 X 960)
|
Post a Response |
Buy & Sell Exchanges | Forums | Galleries | Site Map
| Forum Posting Help | |
| Your Name | The name you enter in this field will be the name that appears with your post or response (return to form). |
| Your Website | Personal or business website links must point to the author's website. Inappropriate links will be removed without notice, and at WOODWEB's sole discretion. WOODWEB reserves the right to delete any messages with links it deems inappropriate. (return to form) |
| E-Mail Address | Your e-mail address will not be publicly viewable. Forum participants will be able to contact you using a contact link (included with your post) that is substituted for your actual address. You must include a valid email address in this field. (return to form) |
| Subject | Subject may be edited for length and clarity. Subject lines should provide an indication of the content of your post. (return to form) |
| Thread Related Link and Image Guidelines | Thread Related Links posted at WOODWEB's Forums and Exchanges should point to locations that provide supporting information for the topic being discussed in the current message thread. The purpose of WOODWEB Forums is to provide answers, not to serve as an advertising venue. A Thread Related Link that directs visitors to an area with inappropriate content will be removed. WOODWEB reserves the right to delete any messages with links or images it deems inappropriate. (return to form) |
| Thread Related File Uploads | Thread Related Files posted at WOODWEB's Forums and Exchanges should provide supporting information for the topic being discussed in the current message thread. Video Files: acceptable video formats are: .MOV .AVI .WMV .MPEG .MPG .MP4 (Image Upload Tips) If you encounter any difficulty when uploading video files, E-mail WOODWEB for assistance. The purpose of WOODWEB Forums is to provide answers, not to serve as an advertising venue. A Thread Related File that contains inappropriate content will be removed, and uploaded files that are not directly related to the message thread will be removed. WOODWEB reserves the right to delete any messages with links, files, or images it deems inappropriate. (return to form) |